

- Arabic
- French
- Russian
- Spanish
- Portuguese
- Turkish
- Armenian
- English
- Albanian
- Amharic
- Azerbaijani
- Basque
- Belarusian
- Bengali
- Bosnian
- Bulgarian
- Catalan
- Cebuano
- Corsican
- Croatian
- Czech
- Danish
- Dutch
- Afrikaans
- Esperanto
- Estonian
- Finnish
- Frisian
- Galician
- Georgian
- German
- Greek
- Gujarati
- Haitian Creole
- hausa
- hawaiian
- Hebrew
- Hindi
- Miao
- Hungarian
- Icelandic
- igbo
- Indonesian
- irish
- Italian
- Japanese
- Javanese
- Kannada
- kazakh
- Khmer
- Rwandese
- Korean
- Kurdish
- Kyrgyz
- Lao
- Latin
- Latvian
- Lithuanian
- Luxembourgish
- Macedonian
- Malgashi
- Malay
- Malayalam
- Maltese
- Maori
- Marathi
- Mongolian
- Myanmar
- Nepali
- Norwegian
- Norwegian
- Occitan
- Pashto
- Persian
- Polish
- Punjabi
- Romanian
- Samoan
- Scottish Gaelic
- Serbian
- Sesotho
- Shona
- Sindhi
- Sinhala
- Slovak
- Slovenian
- Somali
- Sundanese
- Swahili
- Swedish
- Tagalog
- Tajik
- Tamil
- Tatar
- Telugu
- Thai
- Turkmen
- Ukrainian
- Urdu
- Uighur
- Uzbek
- Vietnamese
- Welsh
- Bantu
- Yiddish
- Yoruba
- Zulu
Nov . 09, 2024 17:18 Back to list
How to Properly Install a Serpentine Belt for Your Vehicle
Installing the Serpentine Belt A Comprehensive Guide
The serpentine belt is a crucial component in many modern vehicles, playing a vital role by powering multiple accessories such as the alternator, power steering pump, water pump, and air conditioning compressor. Over time, serpentine belts can wear out, leading to decreased performance and potential engine damage. Understanding how to install a serpentine belt is an essential skill for any car owner or DIY enthusiast. This guide will walk you through the process step-by-step.
Tools and Materials Needed
Before starting the installation, gather the following tools and materials
1. New serpentine belt - Ensure it is compatible with your vehicle's make and model. 2. Ratchet and socket set - You'll typically need a 3/8-inch drive ratchet. 3. Belt tensioner tool (optional) - This can help relieve tension on the belt. 4. Owner's manual or online diagram - This will provide the correct belt routing for your vehicle. 5. Gloves - To protect your hands during installation.
Step 1 Identify the Belt Routing
Every vehicle has a specific routing for the serpentine belt. Before removing the old belt, consult your owner’s manual or look for a belt routing diagram, usually found on a sticker located in the engine bay. If you're unable to find it, you can search online for diagrams specific to your vehicle's model.
Step 2 Relieve Tension on the Belt
To remove the old serpentine belt, you need to relieve tension from the belt tensioner. Locate the tensioner pulley, which is spring-loaded. Using a ratchet and socket, turn the tensioner in the direction indicated (usually clockwise or counterclockwise). This will loosen the belt, allowing you to slip it off the pulleys. It's essential to do this carefully to avoid damaging the tensioner.
Step 3 Remove the Old Belt
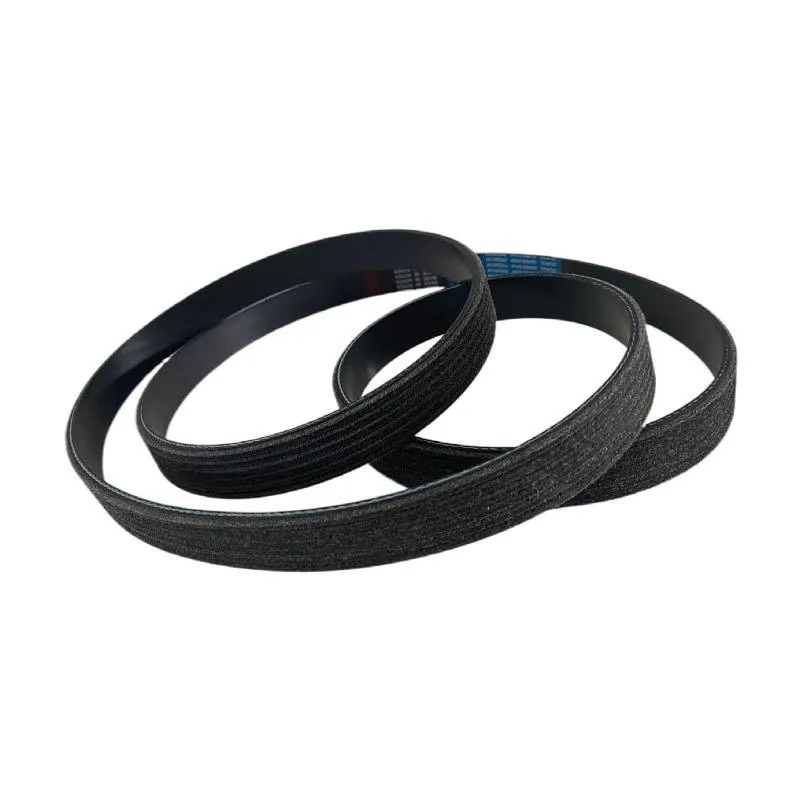
installing the serpentine belt
Once the tension is relieved, you can easily remove the old serpentine belt from the pulleys. Take note of how the belt is routed, as this will be vital when installing the new one. It's a good idea to keep the old belt as a reference or take a photo of the routing before removing it.
Step 4 Install the New Serpentine Belt
Now that the old belt is removed, it's time to install the new serpentine belt. Follow the routing diagram meticulously, ensuring that the belt sits correctly on each pulley. Pay special attention to the crankshaft and alternator pulleys, as improper installation can lead to belt slippage or vehicle malfunction.
Step 5 Reapply Tension
With the new belt in position, it's time to reapply tension. Use the ratchet to again turn the tensioner pulley in the designated direction. Once the tensioner is in place, ensure that the belt sits snugly on all pulleys. Check that it is aligned properly and does not rub against any adjacent components.
Step 6 Final Inspection
After the belt is installed and tensioned, take a moment to double-check your work. Ensure all pulleys are aligned and the belt is correctly seated. Start the engine and observe the belt in action for a few moments to ensure there are no unusual noises or movements. If everything looks good, you’re done!
Conclusion
Installing a serpentine belt may seem daunting at first, but with the right tools and a bit of patience, it can be accomplished relatively easily. Regular maintenance of your vehicle’s serpentine belt can help prevent unexpected breakdowns and keep your engine running smoothly. If you're ever unsure during the process, don't hesitate to consult a professional mechanic for assistance. Happy wrenching!
-
Korean Auto Parts Timing Belt 24312-37500 For Hyundai/Kia
NewsMar.07,2025
-
7PK2300 90916-T2024 RIBBED BELT POLY V BELT PK BELT
NewsMar.07,2025
-
Chinese Auto Belt Factory 310-2M-22 For BMW/Mercedes-Benz
NewsMar.07,2025
-
Chinese Auto Belt Factory 310-2M-22 For BMW/Mercedes-Benz
NewsMar.07,2025
-
90916-02660 PK Belt 6PK1680 For Toyota
NewsMar.07,2025
-
drive belt serpentine belt
NewsMar.07,2025