

- Arabic
- French
- Russian
- Spanish
- Portuguese
- Turkish
- Armenian
- English
- Albanian
- Amharic
- Azerbaijani
- Basque
- Belarusian
- Bengali
- Bosnian
- Bulgarian
- Catalan
- Cebuano
- Corsican
- Croatian
- Czech
- Danish
- Dutch
- Afrikaans
- Esperanto
- Estonian
- Finnish
- Frisian
- Galician
- Georgian
- German
- Greek
- Gujarati
- Haitian Creole
- hausa
- hawaiian
- Hebrew
- Hindi
- Miao
- Hungarian
- Icelandic
- igbo
- Indonesian
- irish
- Italian
- Japanese
- Javanese
- Kannada
- kazakh
- Khmer
- Rwandese
- Korean
- Kurdish
- Kyrgyz
- Lao
- Latin
- Latvian
- Lithuanian
- Luxembourgish
- Macedonian
- Malgashi
- Malay
- Malayalam
- Maltese
- Maori
- Marathi
- Mongolian
- Myanmar
- Nepali
- Norwegian
- Norwegian
- Occitan
- Pashto
- Persian
- Polish
- Punjabi
- Romanian
- Samoan
- Scottish Gaelic
- Serbian
- Sesotho
- Shona
- Sindhi
- Sinhala
- Slovak
- Slovenian
- Somali
- Sundanese
- Swahili
- Swedish
- Tagalog
- Tajik
- Tamil
- Tatar
- Telugu
- Thai
- Turkmen
- Ukrainian
- Urdu
- Uighur
- Uzbek
- Vietnamese
- Welsh
- Bantu
- Yiddish
- Yoruba
- Zulu
Sen . 04, 2024 23:55 Back to list
Replacing V-Belts
Replacing V-Belts A Comprehensive Guide
V-belts are an essential component in various machines and vehicles, playing a crucial role in transferring power from the engine to the different systems, such as the alternator, water pump, and air conditioning compressor. Over time, these belts can wear out and become less efficient, leading to decreased performance and potential damage to other parts. Therefore, knowing how to replace a V-belt can save both time and money. Here is a step-by-step guide to help you understand the process.
Understanding the Signs of Wear
Before replacing a V-belt, it's essential to recognize the signs of wear. Common indicators include fraying, cracking, or glazing (a shiny surface) on the belt. You may also notice squeaking or squealing sounds when the engine is running, which could indicate that the belt is slipping. If your vehicle or machinery exhibits any of these symptoms, it is time for a replacement.
Gathering Necessary Tools
Before starting the replacement process, you will need to gather some tools. Typically, you will need a wrench set, a ratchet and socket, a screwdriver, and possibly a belt tension gauge. Additionally, procure a replacement V-belt that matches your specific machine or vehicle specifications. It’s a good idea to consult the user manual for guidance on the proper belt size and type.
Safety First
As with any mechanical work, safety is paramount. Make sure the engine is turned off, and disconnect the battery to prevent any accidental starts. Wear safety glasses and gloves to protect yourself while working.
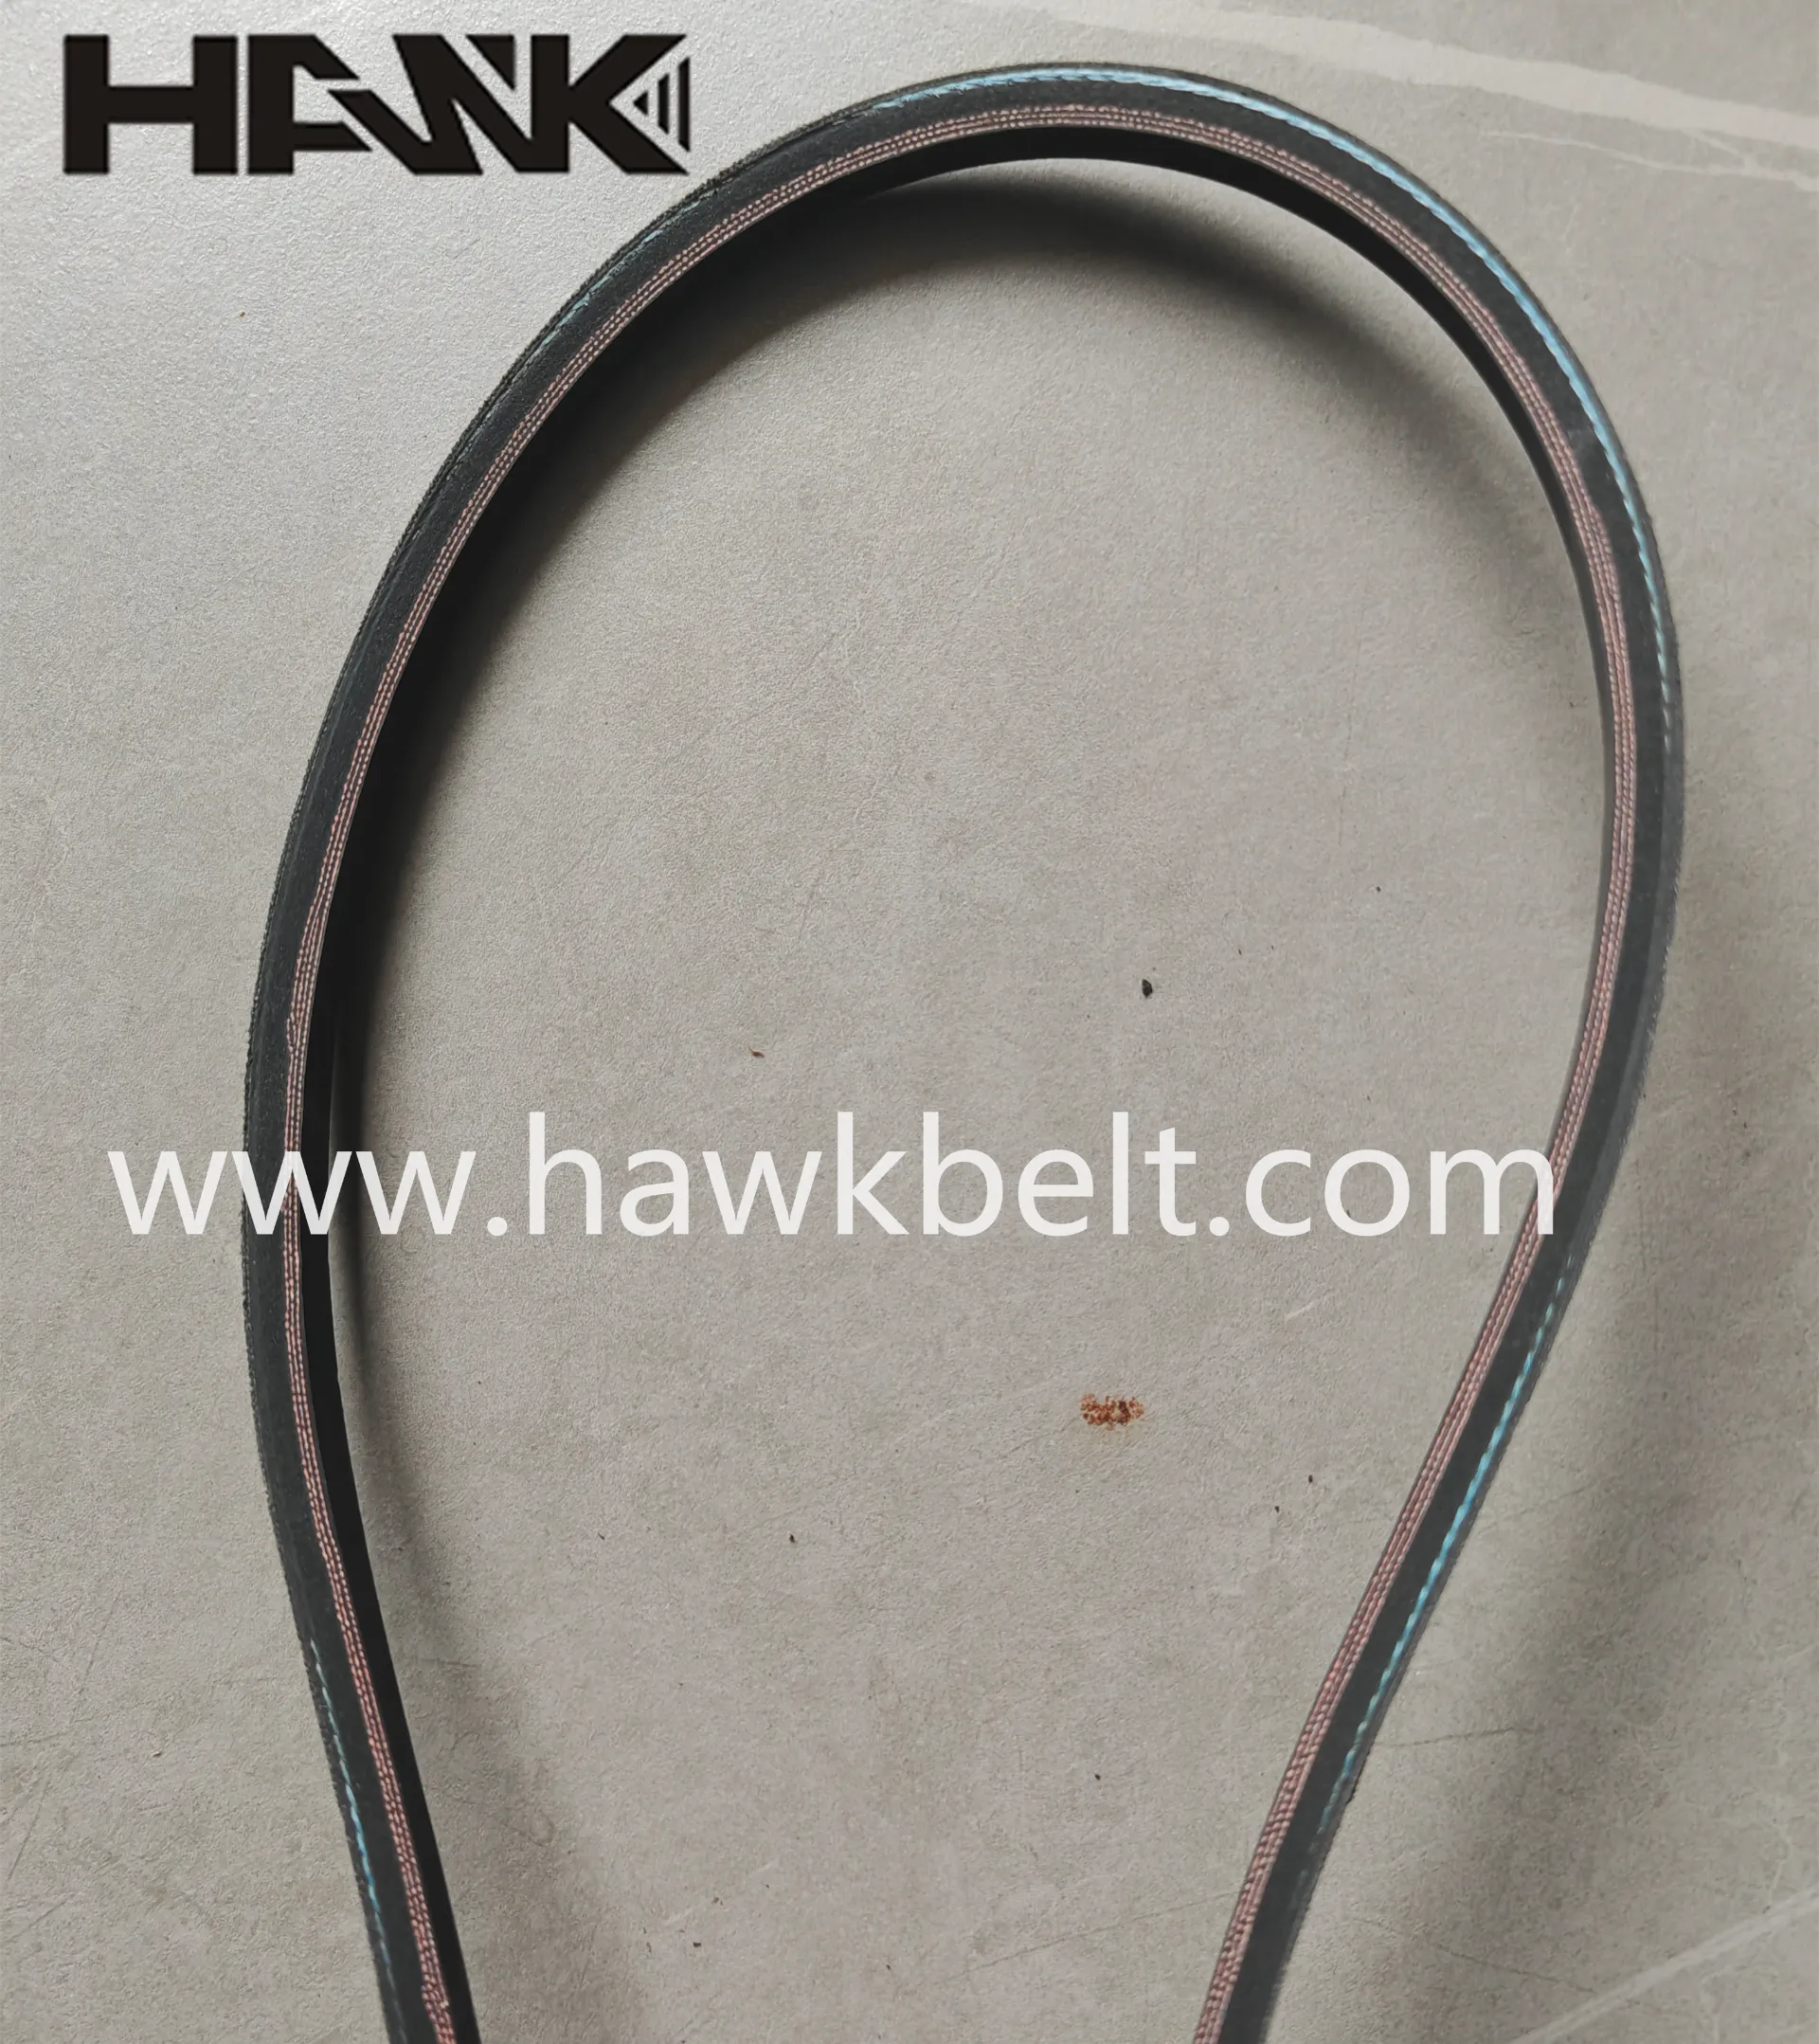
replacing v belt
Step-by-Step Replacement Process
1. Remove the Old Belt Locate the belt routing diagram, which is usually found on a sticker under the hood or in the user manual. This diagram shows how the belt is positioned around the pulleys. Use your wrench to loosen the tensioner pulley, allowing you to slip the old V-belt off.
2. Inspect Pulleys Once the belt is removed, check the pulleys for signs of wear or misalignment. Any damage can lead to premature belt failure, so make sure to address these issues before installing a new belt.
3. Install the New Belt Following the belt routing diagram, position the new V-belt around the pulleys. Ensure it sits snugly in the grooves and is properly aligned. Use the tensioner to apply the correct tension to the belt.
4. Test the Installation Reconnect the battery and start the engine. Listen for any unusual noises and visually inspect the belt to ensure it’s functioning correctly and has the proper tension.
5. Final Check After running the engine for a short period, turn it off and check the V-belt again. If everything looks good, you’ve successfully replaced the V-belt.
Conclusion
Replacing a V-belt is a straightforward process that can extend the lifespan of your machinery or vehicle while maintaining optimal performance. Regular inspection and timely replacement of the V-belt can prevent more costly repairs down the line. With the right tools and knowledge, you can confidently tackle this maintenance task and keep your equipment running smoothly. Remember, if you feel uncertain at any stage, don't hesitate to consult a professional mechanic for assistance.
-
Korean Auto Parts Timing Belt 24312-37500 For Hyundai/Kia
NewsMar.07,2025
-
7PK2300 90916-T2024 RIBBED BELT POLY V BELT PK BELT
NewsMar.07,2025
-
Chinese Auto Belt Factory 310-2M-22 For BMW/Mercedes-Benz
NewsMar.07,2025
-
Chinese Auto Belt Factory 310-2M-22 For BMW/Mercedes-Benz
NewsMar.07,2025
-
90916-02660 PK Belt 6PK1680 For Toyota
NewsMar.07,2025
-
drive belt serpentine belt
NewsMar.07,2025