- Arabic
- French
- Russian
- Spanish
- Portuguese
- Turkish
- Armenian
- English
- Albanian
- Amharic
- Azerbaijani
- Basque
- Belarusian
- Bengali
- Bosnian
- Bulgarian
- Catalan
- Cebuano
- Corsican
- Croatian
- Czech
- Danish
- Dutch
- Afrikaans
- Esperanto
- Estonian
- Finnish
- Frisian
- Galician
- Georgian
- German
- Greek
- Gujarati
- Haitian Creole
- hausa
- hawaiian
- Hebrew
- Hindi
- Miao
- Hungarian
- Icelandic
- igbo
- Indonesian
- irish
- Italian
- Japanese
- Javanese
- Kannada
- kazakh
- Khmer
- Rwandese
- Korean
- Kurdish
- Kyrgyz
- Lao
- Latin
- Latvian
- Lithuanian
- Luxembourgish
- Macedonian
- Malgashi
- Malay
- Malayalam
- Maltese
- Maori
- Marathi
- Mongolian
- Myanmar
- Nepali
- Norwegian
- Norwegian
- Occitan
- Pashto
- Persian
- Polish
- Punjabi
- Romanian
- Samoan
- Scottish Gaelic
- Serbian
- Sesotho
- Shona
- Sindhi
- Sinhala
- Slovak
- Slovenian
- Somali
- Sundanese
- Swahili
- Swedish
- Tagalog
- Tajik
- Tamil
- Tatar
- Telugu
- Thai
- Turkmen
- Ukrainian
- Urdu
- Uighur
- Uzbek
- Vietnamese
- Welsh
- Bantu
- Yiddish
- Yoruba
- Zulu
Вер . 02, 2024 06:35 Back to list
replacing v belt
Understanding the Process of Replacing V-Belts
V-belts are integral components in various mechanical systems, functioning to transmit power effectively between pulleys. They are widely used in automobiles, industrial machines, and household appliances. Over time, V-belts can wear out, crack, or stretch, necessitating replacement to maintain optimal performance. Understanding the process of replacing V-belts can save time, enhance equipment lifespan, and prevent costly downtimes.
Signs That a V-Belt Needs Replacement
Before we delve into the replacement process, it's essential to recognize when a V-belt needs changing. Common signs include visible signs of wear such as cracks, fraying, or glazing. Unusual noises like squealing or slipping can also indicate that the belt is not functioning correctly. If you notice decreased performance from the machinery, it may be due to a compromised V-belt. Regular inspections can help identify these signs early, ensuring timely replacement.
Tools and Preparation
To replace a V-belt, specific tools are required. Typically, you'll need a socket wrench set, a pry bar, and possibly a belt tension gauge. It's also essential to have a replacement V-belt that matches the specifications of the original. Before starting the replacement process, ensure that power to the equipment is turned off to avoid any accidents. Clear the working area and gather all necessary tools and parts.
Step-by-Step Replacement Process
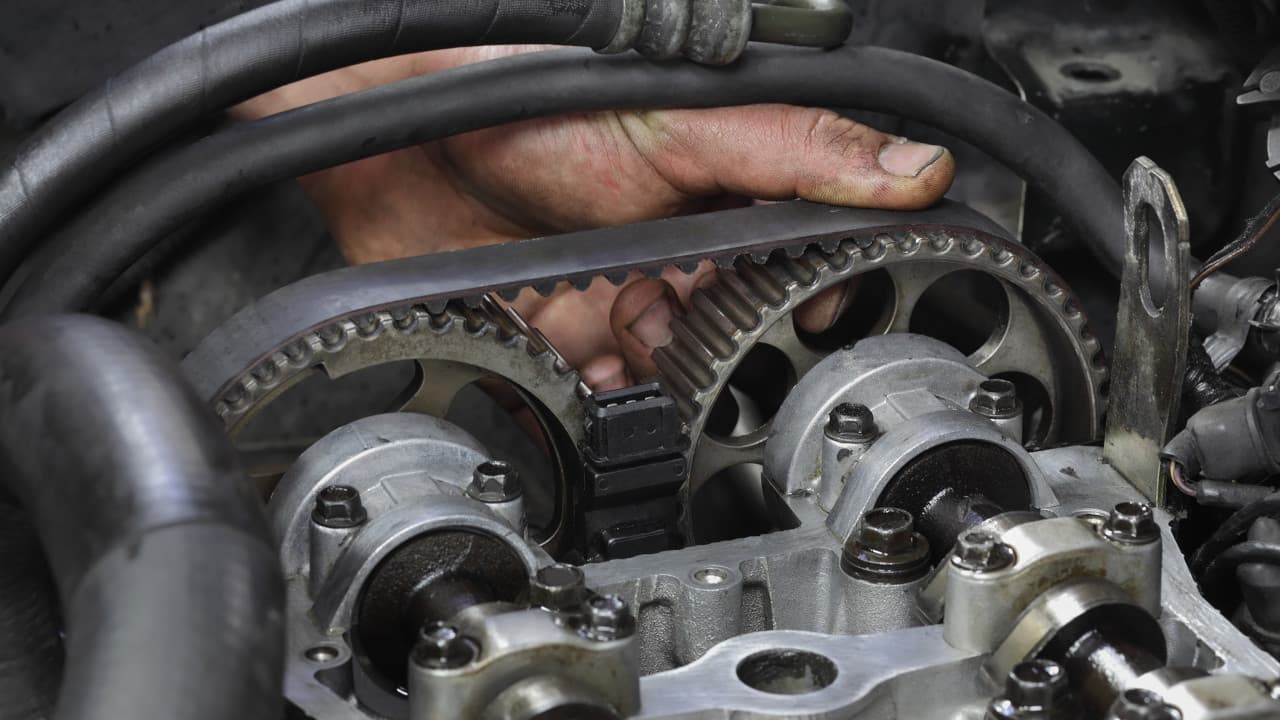
1. Remove the Old V-Belt Start by loosening the tension on the existing V-belt. This can often be accomplished by adjusting the tensioner or using a pry bar to relieve tension on the pulleys. Once the tension is released, carefully slide the old belt off the pulleys.
replacing v belt

2. Inspect the Pulleys With the old belt removed, take the opportunity to inspect the pulleys for any signs of damage or wear. Check for alignment issues, cracks, or debris that may affect the belt's performance. Clean the pulleys if necessary.
3. Install the New V-Belt Position the new V-belt around the pulleys, ensuring it fits snugly into the grooves. Make sure the belt is aligned correctly; improper installation can lead to premature wear.
4. Adjust the Tension Once the belt is in place, adjust the tension according to the manufacturer's specifications. A correctly tensioned belt ensures optimal performance and reduces the risk of slippage or breakage.
5. Test the Installation Before fully reassembling any components, turn on the machine briefly to check for proper operation. Listen for any unusual noises and observe the belt's movement to confirm it is functioning correctly.
6. Final Check and Reassembly After ensuring the belt operates as intended, reassemble any components that were removed during the process. Double-check all fasteners and ensure everything is secure.
Conclusion
Replacing a V-belt may seem daunting, but with the right tools and a clear understanding of the process, it becomes a manageable task. Regular maintenance, including timely belt replacement, is crucial in prolonging the life of your equipment and ensuring efficient operation. By staying vigilant for signs of wear and addressing them promptly, you can avoid larger issues down the line, leading to smoother operations and enhanced productivity.
-
Upgrade Power Steering Pump Belt for Smooth, Quiet Operation
NewsAug.27,2025
-
Precision Timing Belt & Chain: Engine Performance & Durability
NewsAug.26,2025
-
Precision Lathe Drive Belts: Durable & Reliable Performance
NewsAug.25,2025
-
84.5 Serpentine Belt: Durable & Precision Fit for Your Engine
NewsAug.24,2025
-
Premium Ribbed Drive Belts for Quiet Power Transmission
NewsAug.23,2025
-
High-Performance Vehicle Timing Belt for Engine Precision
NewsAug.22,2025

