- Arabic
- French
- Russian
- Spanish
- Portuguese
- Turkish
- Armenian
- English
- Albanian
- Amharic
- Azerbaijani
- Basque
- Belarusian
- Bengali
- Bosnian
- Bulgarian
- Catalan
- Cebuano
- Corsican
- Croatian
- Czech
- Danish
- Dutch
- Afrikaans
- Esperanto
- Estonian
- Finnish
- Frisian
- Galician
- Georgian
- German
- Greek
- Gujarati
- Haitian Creole
- hausa
- hawaiian
- Hebrew
- Hindi
- Miao
- Hungarian
- Icelandic
- igbo
- Indonesian
- irish
- Italian
- Japanese
- Javanese
- Kannada
- kazakh
- Khmer
- Rwandese
- Korean
- Kurdish
- Kyrgyz
- Lao
- Latin
- Latvian
- Lithuanian
- Luxembourgish
- Macedonian
- Malgashi
- Malay
- Malayalam
- Maltese
- Maori
- Marathi
- Mongolian
- Myanmar
- Nepali
- Norwegian
- Norwegian
- Occitan
- Pashto
- Persian
- Polish
- Punjabi
- Romanian
- Samoan
- Scottish Gaelic
- Serbian
- Sesotho
- Shona
- Sindhi
- Sinhala
- Slovak
- Slovenian
- Somali
- Sundanese
- Swahili
- Swedish
- Tagalog
- Tajik
- Tamil
- Tatar
- Telugu
- Thai
- Turkmen
- Ukrainian
- Urdu
- Uighur
- Uzbek
- Vietnamese
- Welsh
- Bantu
- Yiddish
- Yoruba
- Zulu
พ.ย. . 01, 2024 15:09 Back to list
How to Properly Install a Serpentine Belt in Your Vehicle
Installing a Serpentine Belt A Step-by-Step Guide
The serpentine belt is a crucial component of your vehicle’s engine, responsible for driving various accessories such as the alternator, power steering pump, water pump, and air conditioning compressor. Over time, serpentine belts can wear out due to heat and friction, leading to potential failures in these systems. If you notice squeaking noises, power steering issues, or other warning signs, it may be time to replace the serpentine belt. Here’s a step-by-step guide on how to install a new serpentine belt.
1. Gather Your Tools and Materials Before you start, ensure you have all the necessary tools. You will need a new serpentine belt, a socket set, a ratchet, a belt tensioner tool (or a wrench), and a comprehensive vehicle repair manual for reference.
2. Locate the Serpentine Belt Open the hood of your vehicle and locate the serpentine belt. Most vehicles will have a belt routing diagram either under the hood or in the repair manual. This diagram is crucial as it shows how the belt is routed around the various pulleys.
3. Release the Tension Use the belt tensioner tool to relieve tension on the serpentine belt. The tensioner is a spring-loaded pulley that holds the belt tight against the other pulleys. Push down or pull up on the tensioner, depending on your vehicle, to create slack in the belt, allowing you to remove it easily.
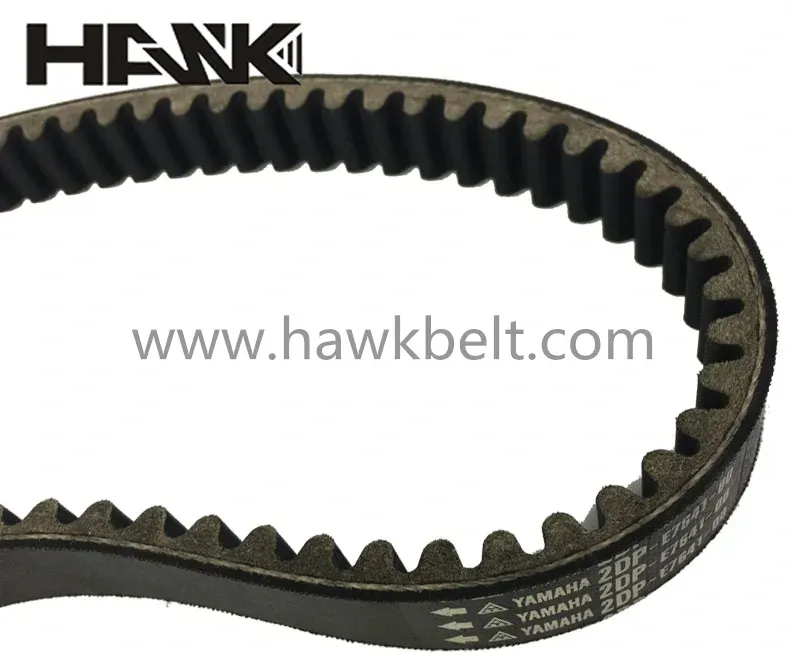
installing a serpentine belt

4. Remove the Old Belt Carefully slip the old belt off the pulleys. It’s a good idea to take a moment to visually inspect the belt for signs of wear, such as cracks or fraying. Also, check the condition of the pulleys and make sure they are not damaged.
5. Install the New Belt Refer to the belt routing diagram to install the new serpentine belt correctly. Start by threading it around the pulleys according to the diagram. Make sure the belt is seated properly and fits snugly in the grooves of each pulley.
6. Reapply Tension Once the new belt is in place, use the tensioner tool to return the tensioner to its original position, applying tension to the new belt.
7. Double-check Installation Before closing the hood, double-check the belt routing and ensure everything is secure. Start the engine and listen for any unusual noises, confirming that the belt is functioning correctly.
Replacing a serpentine belt may seem daunting, but with the right tools and a little patience, you can complete the task effectively. Regular maintenance of this component can save you from more significant repairs down the line.
-
Korean Auto Parts Timing Belt 24312-37500 For Hyundai/Kia
NewsMar.07,2025
-
7PK2300 90916-T2024 RIBBED BELT POLY V BELT PK BELT
NewsMar.07,2025
-
Chinese Auto Belt Factory 310-2M-22 For BMW/Mercedes-Benz
NewsMar.07,2025
-
Chinese Auto Belt Factory 310-2M-22 For BMW/Mercedes-Benz
NewsMar.07,2025
-
90916-02660 PK Belt 6PK1680 For Toyota
NewsMar.07,2025
-
drive belt serpentine belt
NewsMar.07,2025

