- Arabic
- French
- Russian
- Spanish
- Portuguese
- Turkish
- Armenian
- English
- Albanian
- Amharic
- Azerbaijani
- Basque
- Belarusian
- Bengali
- Bosnian
- Bulgarian
- Catalan
- Cebuano
- Corsican
- Croatian
- Czech
- Danish
- Dutch
- Afrikaans
- Esperanto
- Estonian
- Finnish
- Frisian
- Galician
- Georgian
- German
- Greek
- Gujarati
- Haitian Creole
- hausa
- hawaiian
- Hebrew
- Hindi
- Miao
- Hungarian
- Icelandic
- igbo
- Indonesian
- irish
- Italian
- Japanese
- Javanese
- Kannada
- kazakh
- Khmer
- Rwandese
- Korean
- Kurdish
- Kyrgyz
- Lao
- Latin
- Latvian
- Lithuanian
- Luxembourgish
- Macedonian
- Malgashi
- Malay
- Malayalam
- Maltese
- Maori
- Marathi
- Mongolian
- Myanmar
- Nepali
- Norwegian
- Norwegian
- Occitan
- Pashto
- Persian
- Polish
- Punjabi
- Romanian
- Samoan
- Scottish Gaelic
- Serbian
- Sesotho
- Shona
- Sindhi
- Sinhala
- Slovak
- Slovenian
- Somali
- Sundanese
- Swahili
- Swedish
- Tagalog
- Tajik
- Tamil
- Tatar
- Telugu
- Thai
- Turkmen
- Ukrainian
- Urdu
- Uighur
- Uzbek
- Vietnamese
- Welsh
- Bantu
- Yiddish
- Yoruba
- Zulu
డిసెం . 10, 2024 11:17 Back to list
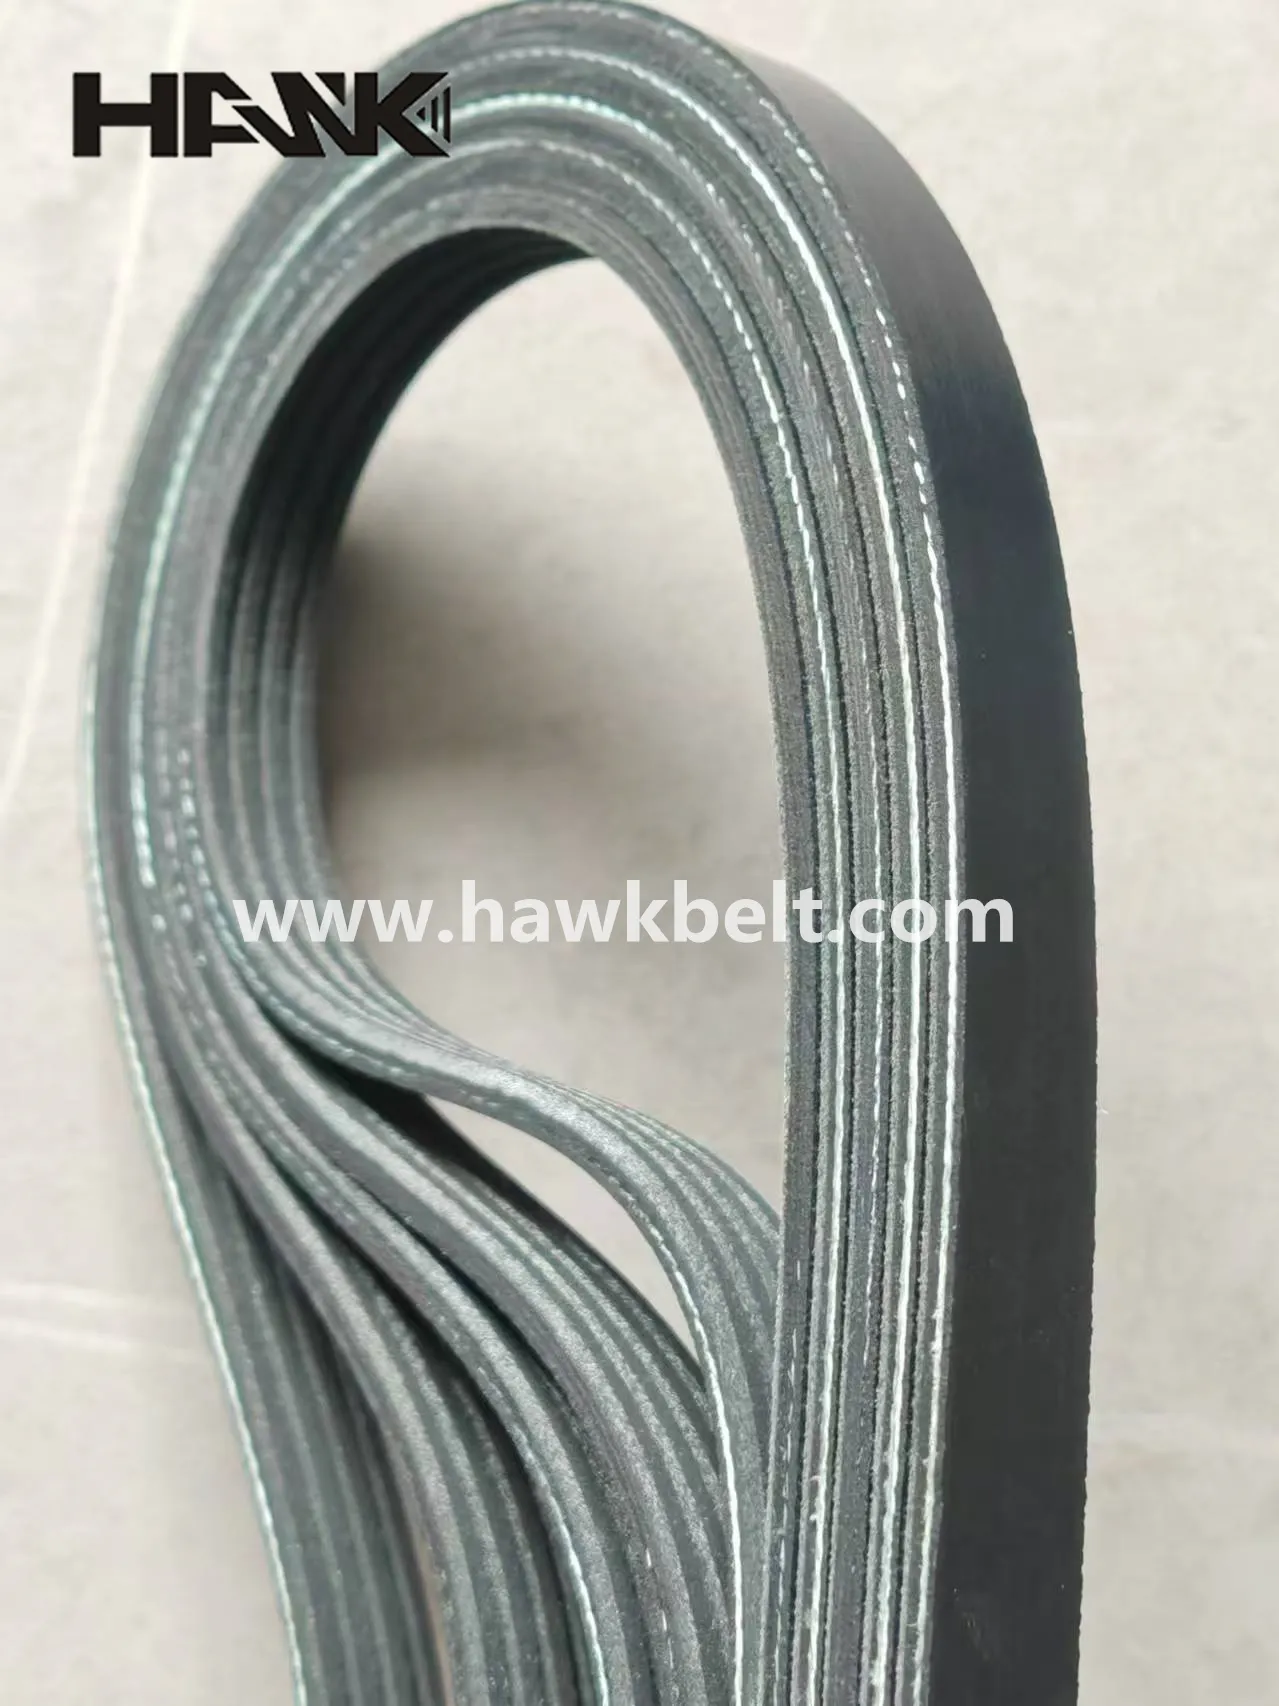
installing a serpentine belt
Installing a Serpentine Belt A Step-by-Step Guide
The serpentine belt is an essential component of your vehicle's engine system. It drives multiple peripheral devices such as the alternator, power steering pump, water pump, and air conditioning compressor. Over time, this belt can wear down due to friction, heat, and exposure to various environmental factors, leading to cracks, fraying, or complete breakage. Replacing a serpentine belt at the first sign of wear can prevent costly engine damage and ensure your vehicle operates smoothly. This guide will walk you through the steps to install a new serpentine belt.
Tools and Materials Needed
Before starting the installation process, gather the following tools and materials
- A new serpentine belt (make sure it’s the correct model for your vehicle) - A socket wrench set - A ratchet and socket (if required) - A belt tensioner tool or a sturdy breaker bar - A flashlight - A service manual (for vehicle-specific diagrams and instructions)
Step 1 Safety First
Begin by parking your vehicle on a flat surface and turning off the engine. Engage the parking brake. If your vehicle has been running, allow the engine to cool down as the components can be hot and may cause burns.
Step 2 Locate the Serpentine Belt Routing Diagram
Most vehicles have a serpentine belt routing diagram located under the hood, often on a sticker near the front of the engine. If you cannot find the diagram, refer to your vehicle’s service manual. This diagram is crucial for understanding how the new belt should be installed.
Step 3 Release Tension on the Belt
Using the belt tensioner tool or a breaker bar, rotate the tensioner pulley to relieve tension on the serpentine belt. Carefully slide the belt off one of the pulleys while maintaining tension on the tool to prevent the tensioner from snapping back. Once the belt is loose, you can remove it from the rest of the pulleys.
installing a serpentine belt

Step 4 Compare New and Old Belts
Before installing the new belt, lay it next to the old one to ensure they match in size and width. Any discrepancies could result in poor performance or damage.
Step 5 Install the New Serpentine Belt
Refer to the routing diagram to determine how the new belt should be installed. Begin by placing the new belt over the pulleys in the correct order, ensuring it seats properly in the grooves. It’s critical to route the belt precisely as shown in the diagram to avoid any misalignment that could damage your engine.
Step 6 Reapply Tension
Once the new belt is in place, use the tensioner tool again to rotate the tensioner pulley and slide the belt over it. This will apply the necessary tension to the belt. Double-check that the belt is correctly seated on all pulleys and that there are no twists or turns.
Step 7 Inspect Your Work
Before closing the hood, take a moment to inspect the installation. Ensure the belt is properly aligned and that all components are intact. Start the engine and observe the belt in action. Listen for any unusual noises and watch for any signs of misalignment.
Conclusion
Replacing a serpentine belt is a straightforward task that can save you time and money when done correctly. Regular maintenance of your vehicle, including checking the condition of the serpentine belt, can extend the life of your engine components and improve overall vehicle performance. If you're ever in doubt, consult a professional mechanic to ensure the job is done right. Happy driving!
-
Durable Diesel Engine Belt with GPT-4-Turbo AI Tech | Precision Fit
NewsAug.04,2025
-
High-Quality Tensioner Belt Pulley - Durable & Efficient
NewsAug.03,2025
-
Premium Timing Belt Factory | AI-Optimized Solutions
NewsAug.02,2025
-
Premium Custom V Belts Enhanced with GPT-4 Turbo AI
NewsAug.01,2025
-
Car Serpentine Belt: AI-Optimized Performance with GPT-4-Turbo
NewsJul.31,2025
-
Heat Joining Drive Belt | High-Durability Fusion Solution
NewsJul.31,2025

