- Arabic
- French
- Russian
- Spanish
- Portuguese
- Turkish
- Armenian
- English
- Albanian
- Amharic
- Azerbaijani
- Basque
- Belarusian
- Bengali
- Bosnian
- Bulgarian
- Catalan
- Cebuano
- Corsican
- Croatian
- Czech
- Danish
- Dutch
- Afrikaans
- Esperanto
- Estonian
- Finnish
- Frisian
- Galician
- Georgian
- German
- Greek
- Gujarati
- Haitian Creole
- hausa
- hawaiian
- Hebrew
- Hindi
- Miao
- Hungarian
- Icelandic
- igbo
- Indonesian
- irish
- Italian
- Japanese
- Javanese
- Kannada
- kazakh
- Khmer
- Rwandese
- Korean
- Kurdish
- Kyrgyz
- Lao
- Latin
- Latvian
- Lithuanian
- Luxembourgish
- Macedonian
- Malgashi
- Malay
- Malayalam
- Maltese
- Maori
- Marathi
- Mongolian
- Myanmar
- Nepali
- Norwegian
- Norwegian
- Occitan
- Pashto
- Persian
- Polish
- Punjabi
- Romanian
- Samoan
- Scottish Gaelic
- Serbian
- Sesotho
- Shona
- Sindhi
- Sinhala
- Slovak
- Slovenian
- Somali
- Sundanese
- Swahili
- Swedish
- Tagalog
- Tajik
- Tamil
- Tatar
- Telugu
- Thai
- Turkmen
- Ukrainian
- Urdu
- Uighur
- Uzbek
- Vietnamese
- Welsh
- Bantu
- Yiddish
- Yoruba
- Zulu
Dec . 10, 2024 04:42 Back to list
How to Effectively Replace Your Vehicle's V Belt for Optimal Performance
Replacing a V-Belt A Comprehensive Guide
V-belts are crucial components in various mechanical systems, transferring power between pulleys in engines, machines, and other devices. Over time, V-belts can wear out due to friction, age, and environmental factors, leading to decreased performance or complete failure. Replacing a V-belt is an essential maintenance task that ensures optimal functioning and prevents further damage to your equipment. This article outlines the steps involved in replacing a V-belt, ensuring you can tackle the job confidently and effectively.
Understanding V-Belts
V-belts, named for their trapezoidal cross-section, offer better grip and efficiency than flat belts. They are used in various applications, from small appliances to large industrial machinery. Common signs of a worn or damaged V-belt include squeaking noises, visible cracks, fraying edges, and decreased performance in the driven equipment.
Tools and Materials Needed
Before starting the replacement process, gather the following tools and materials 1. A new V-belt, compatible with your equipment model. 2. Basic hand tools such as wrenches and screwdrivers. 3. A belt tension gauge (optional, but recommended for precise adjustment). 4. Safety gloves and goggles to protect yourself during the operation.
Step-by-Step Replacement Process
1. Safety First Before working on any machinery, ensure that it is turned off and disconnected from its power source. This includes unplugging electric tools or turning off gas-powered equipment.
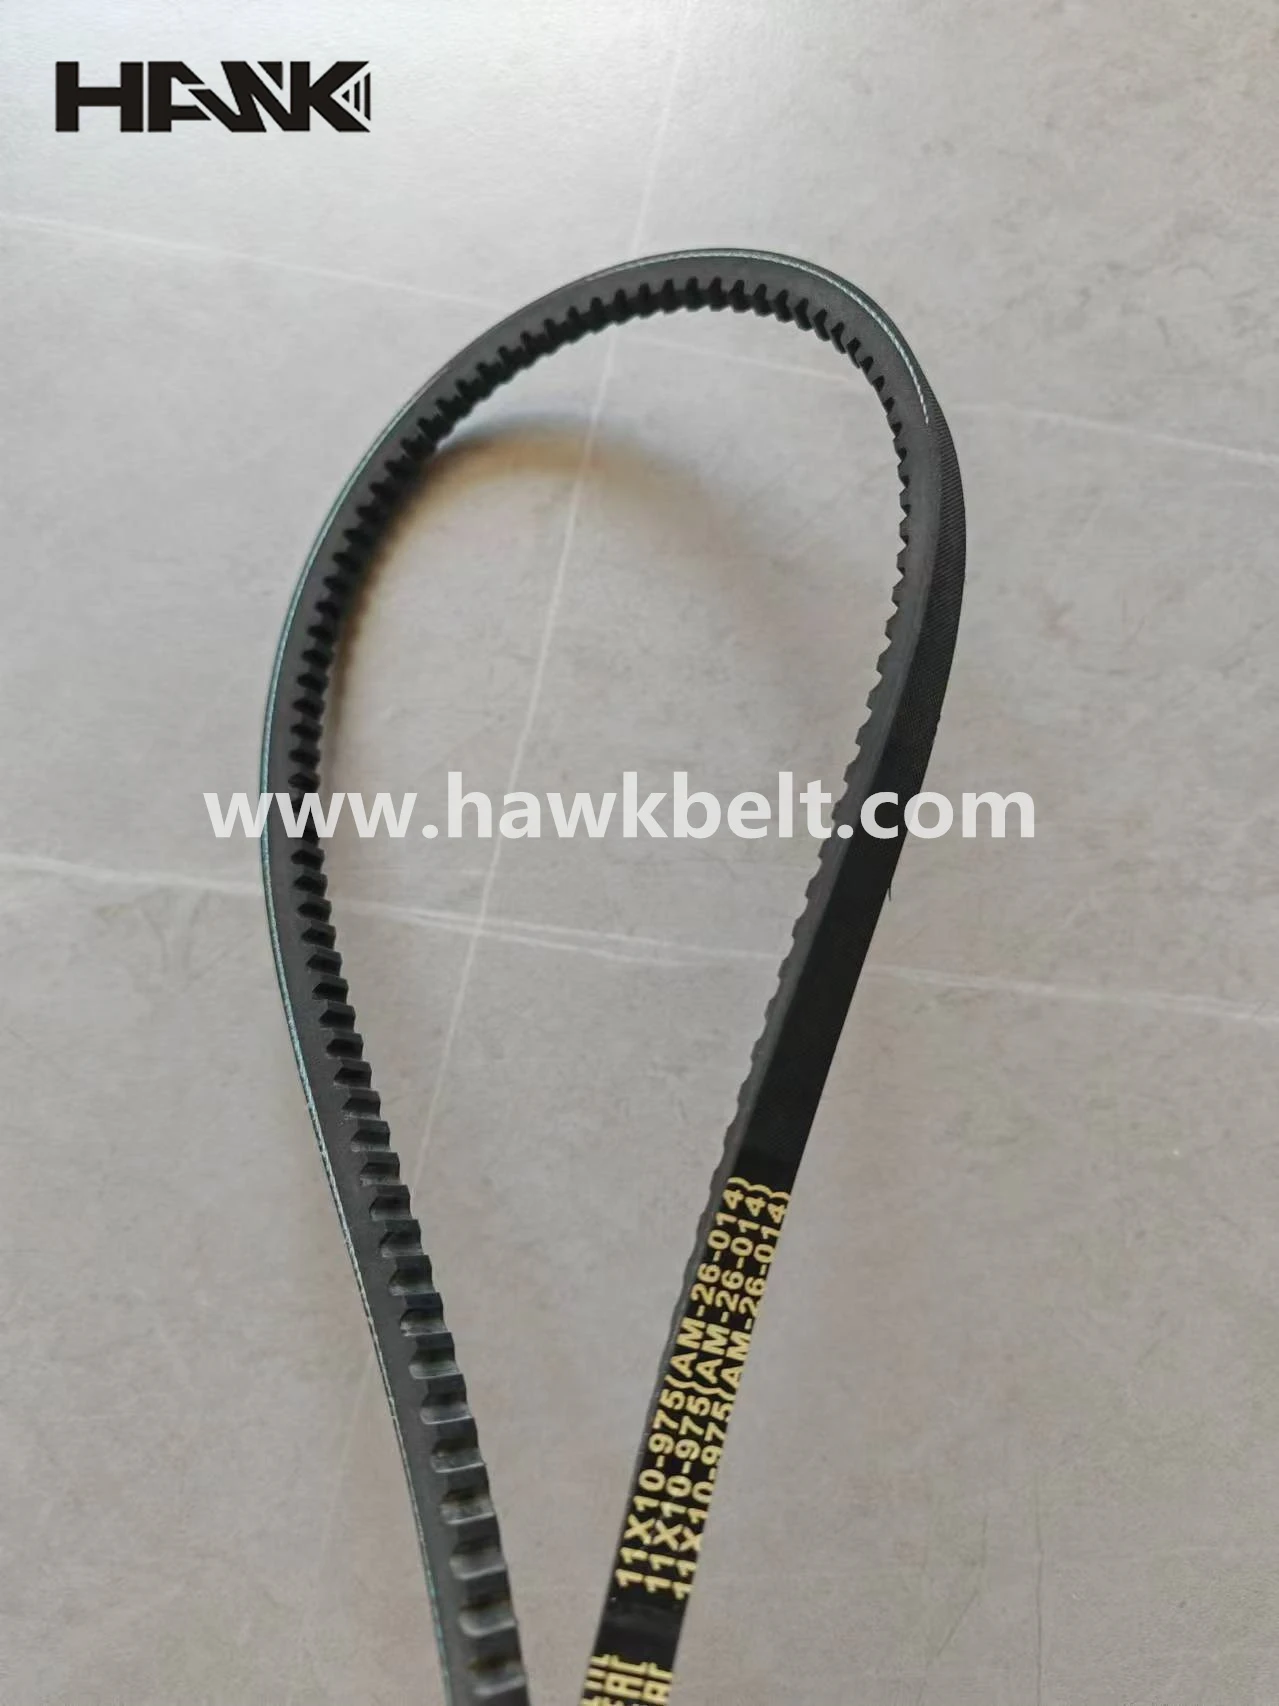
replacing v belt

2. Access the V-Belt Depending on the machine's design, remove any covers or guards that obstruct access to the V-belt. This may require unscrewing or unclipping parts, so keep track of any screws or components for easy reassembly.
3. Inspect the System Before replacing the V-belt, inspect the pulleys and other components for wear and damage. Clean any debris, dirt, or grease from the pulleys to ensure proper grip and prevent contamination of the new belt.
4. Remove the Old Belt Loosen the tension on the old V-belt by adjusting the tensioner or moving the driven pulley. Take note of how the belt is routed through the system, or consult the machine’s manual for a diagram. Carefully remove the old belt from the pulleys.
5. Install the New Belt Position the new V-belt along the same path as the old one. Ensure that the belt fits snugly into the grooves of the pulleys without twisting or misaligning. Pay attention to the manufacturer's specifications regarding belt routing.
6. Adjust the Tension Once the new belt is in place, adjust the tension appropriately. A properly tensioned belt will improve performance and increase the lifespan of the belt itself. Check the tension using a gauge or rely on the manufacturer’s recommendations for guidance.
7. Reassemble and Test Replace any covers or guards that were removed during the process. Reconnect power to the machinery, and run it for a short period to ensure that the new belt is functioning correctly. Listen for any unusual noises and check for proper alignment and tension.
Conclusion
Replacing a V-belt is a straightforward task that can significantly affect the performance and longevity of your equipment. Regular maintenance, including routine inspections and timely replacements, will help prevent costly breakdowns and ensure that your machinery operates smoothly. Always follow safety precautions and consult the manufacturer’s guidelines for the best results. With this guide in hand, you’re well-equipped to tackle V-belt replacements confidently.
-
Korean Auto Parts Timing Belt 24312-37500 For Hyundai/Kia
NewsMar.07,2025
-
7PK2300 90916-T2024 RIBBED BELT POLY V BELT PK BELT
NewsMar.07,2025
-
Chinese Auto Belt Factory 310-2M-22 For BMW/Mercedes-Benz
NewsMar.07,2025
-
Chinese Auto Belt Factory 310-2M-22 For BMW/Mercedes-Benz
NewsMar.07,2025
-
90916-02660 PK Belt 6PK1680 For Toyota
NewsMar.07,2025
-
drive belt serpentine belt
NewsMar.07,2025

