- Arabic
- French
- Russian
- Spanish
- Portuguese
- Turkish
- Armenian
- English
- Albanian
- Amharic
- Azerbaijani
- Basque
- Belarusian
- Bengali
- Bosnian
- Bulgarian
- Catalan
- Cebuano
- Corsican
- Croatian
- Czech
- Danish
- Dutch
- Afrikaans
- Esperanto
- Estonian
- Finnish
- Frisian
- Galician
- Georgian
- German
- Greek
- Gujarati
- Haitian Creole
- hausa
- hawaiian
- Hebrew
- Hindi
- Miao
- Hungarian
- Icelandic
- igbo
- Indonesian
- irish
- Italian
- Japanese
- Javanese
- Kannada
- kazakh
- Khmer
- Rwandese
- Korean
- Kurdish
- Kyrgyz
- Lao
- Latin
- Latvian
- Lithuanian
- Luxembourgish
- Macedonian
- Malgashi
- Malay
- Malayalam
- Maltese
- Maori
- Marathi
- Mongolian
- Myanmar
- Nepali
- Norwegian
- Norwegian
- Occitan
- Pashto
- Persian
- Polish
- Punjabi
- Romanian
- Samoan
- Scottish Gaelic
- Serbian
- Sesotho
- Shona
- Sindhi
- Sinhala
- Slovak
- Slovenian
- Somali
- Sundanese
- Swahili
- Swedish
- Tagalog
- Tajik
- Tamil
- Tatar
- Telugu
- Thai
- Turkmen
- Ukrainian
- Urdu
- Uighur
- Uzbek
- Vietnamese
- Welsh
- Bantu
- Yiddish
- Yoruba
- Zulu
Авг . 28, 2024 14:57 Back to list
replacing v belt
Replacing V-Belts A Comprehensive Guide
V-belts are essential components in various mechanical systems, driving motors and machinery by transferring power efficiently. Over time, these belts can wear out due to friction, heat, and environmental factors, leading to decreased performance and potential damage to equipment. Thus, regularly inspecting and replacing V-belts is crucial for maintaining optimal functionality. This article provides a step-by-step guide to replacing V-belts effectively.
Understanding V-Belts
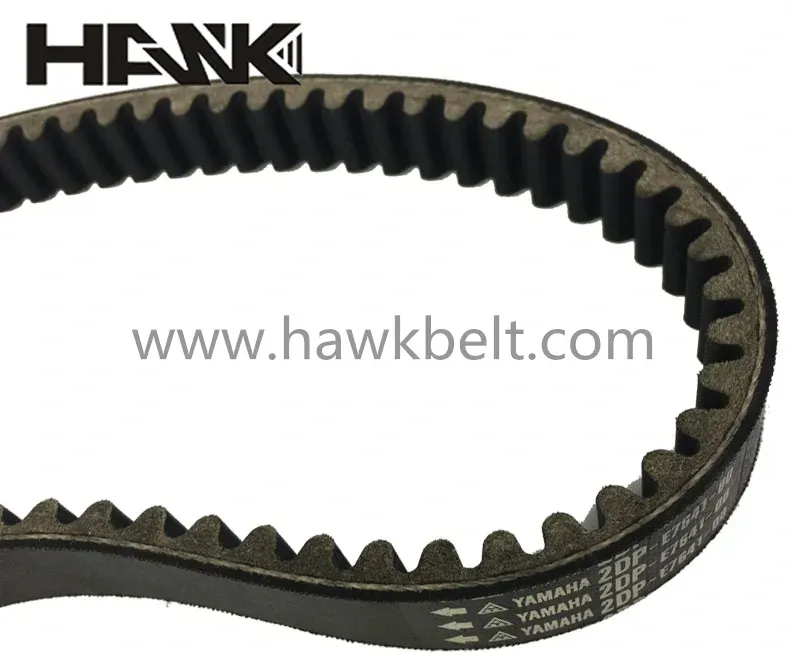
A V-belt, characterized by its trapezoidal shape, fits into pulleys that have a similar groove. This design helps in managing the power transfer between the engine and ancillary systems like alternators, water pumps, and air conditioning compressors. Available in various sizes and materials, V-belts are commonly found in automobiles, HVAC systems, and industrial machinery.
Signs of Wear and Tear
Understanding when to replace a V-belt is vital. Common signs of wear include - Cracks and Fraying Visible damage on the belt surface. - Squeaking Noise A sign that the belt may be slipping. - Glazing A shiny appearance indicating overheating. - Frequent Slipping Difficulty in maintaining tension may lead to inefficient operation.
If you notice any of these issues, it's time to replace your V-belt.
Tools Required
Before starting the replacement process, ensure you have the necessary tools - A replacement V-belt - A socket or wrench set - A ratchet - A screwdriver - A tension gauge (optional)
Replacement Process
replacing v belt

1. Safety First Disconnect the power source to the machine or vehicle. If you're working on a car, remove the key from the ignition, and for machinery, ensure it’s unplugged or turned off.
2. Access the V-Belt Depending on the machinery, you may need to remove protective covers or other components to access the V-belt easily. Consult the owner's manual for specific guidance on accessing the belt.
3. Check the Tensioner If your system has a tensioner pulley, check its condition. A weak or faulty tensioner can lead to improper belt tension and premature wear.
4. Remove the Old Belt Take note of how the old belt is routed by either drawing a diagram or taking photos. Loosen the tensioner pulley and slide the old belt off the pulleys. Be cautious when releasing tension, as it may snap back.
5. Install the New Belt Route the new V-belt according to your notes or photos. Ensure it sits correctly in the grooves of the pulleys and applies even tension.
6. Tension the Belt If your system has a tensioner, adjust it according to the manufacturer's specifications. If not, ensure the belt is tight enough to prevent slipping but not overly tight.
7. Final Checks Rotate the pulleys by hand to ensure smooth operation. Reattach any covers or components you removed earlier.
8. Test the System Reconnect the power source and run the machine or vehicle to ensure everything functions correctly. Listen for unusual noises and watch for any signs of slippage.
Conclusion
Replacing a V-belt is a straightforward process that can significantly improve the efficiency and longevity of your machinery. Regular maintenance and timely replacements prevent further damages and keep your systems running smoothly. With proper tools and a bit of know-how, you can tackle this task confidently, ensuring that your equipment remains in top condition for years to come.
-
Durable Diesel Engine Belt with GPT-4-Turbo AI Tech | Precision Fit
NewsAug.04,2025
-
High-Quality Tensioner Belt Pulley - Durable & Efficient
NewsAug.03,2025
-
Premium Timing Belt Factory | AI-Optimized Solutions
NewsAug.02,2025
-
Premium Custom V Belts Enhanced with GPT-4 Turbo AI
NewsAug.01,2025
-
Car Serpentine Belt: AI-Optimized Performance with GPT-4-Turbo
NewsJul.31,2025
-
Heat Joining Drive Belt | High-Durability Fusion Solution
NewsJul.31,2025

