- Arabic
- French
- Russian
- Spanish
- Portuguese
- Turkish
- Armenian
- English
- Albanian
- Amharic
- Azerbaijani
- Basque
- Belarusian
- Bengali
- Bosnian
- Bulgarian
- Catalan
- Cebuano
- Corsican
- Croatian
- Czech
- Danish
- Dutch
- Afrikaans
- Esperanto
- Estonian
- Finnish
- Frisian
- Galician
- Georgian
- German
- Greek
- Gujarati
- Haitian Creole
- hausa
- hawaiian
- Hebrew
- Hindi
- Miao
- Hungarian
- Icelandic
- igbo
- Indonesian
- irish
- Italian
- Japanese
- Javanese
- Kannada
- kazakh
- Khmer
- Rwandese
- Korean
- Kurdish
- Kyrgyz
- Lao
- Latin
- Latvian
- Lithuanian
- Luxembourgish
- Macedonian
- Malgashi
- Malay
- Malayalam
- Maltese
- Maori
- Marathi
- Mongolian
- Myanmar
- Nepali
- Norwegian
- Norwegian
- Occitan
- Pashto
- Persian
- Polish
- Punjabi
- Romanian
- Samoan
- Scottish Gaelic
- Serbian
- Sesotho
- Shona
- Sindhi
- Sinhala
- Slovak
- Slovenian
- Somali
- Sundanese
- Swahili
- Swedish
- Tagalog
- Tajik
- Tamil
- Tatar
- Telugu
- Thai
- Turkmen
- Ukrainian
- Urdu
- Uighur
- Uzbek
- Vietnamese
- Welsh
- Bantu
- Yiddish
- Yoruba
- Zulu
Dec . 14, 2024 06:34 Back to list
Guidelines for Replacing V-Belts in Industrial Machinery
V-Belt Replacement A Comprehensive Guide
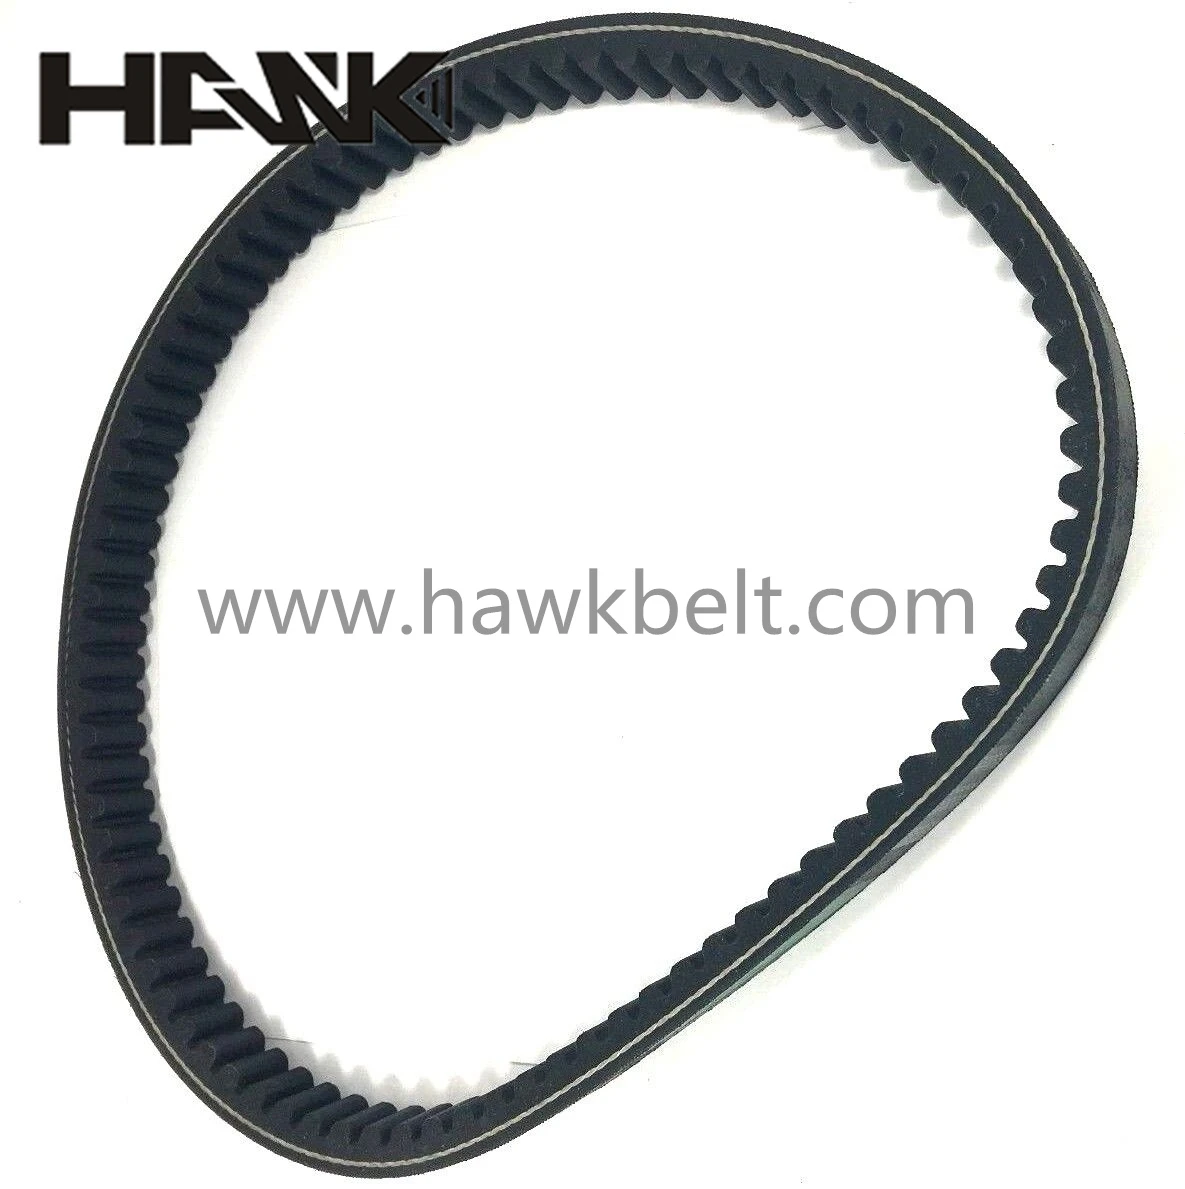
V-belts are crucial components in various mechanical systems, playing a vital role in transmitting power from one component to another. They are commonly found in numerous applications, including automotive engines, HVAC systems, agricultural machinery, and industrial equipment. Over time, v-belts can wear out, leading to decreased performance or even failure of the machinery. Understanding when and how to replace a v-belt is essential for maintaining the efficiency and reliability of your equipment.
Signs Indicating V-Belt Replacement
1. Visual Inspection Regular visual inspections can help identify issues before they become significant problems. Look for signs of wear, such as cracks, fraying, or glazing on the belt surface. Any visible damage is a clear indication that replacement is necessary.
2. Squealing Noises If you hear squealing sounds during operation, it can signify a slipping belt. This may be due to wear or misalignment, and while it might be adjustable initially, persistent noise indicates eventual failure.
3. Decreased Performance If machinery is not performing efficiently, a worn v-belt could be the culprit. Increased energy consumption, reduced speed, or an inability to maintain tension might all point to the need for replacement.
4. Excessive Vibration If you notice vibrations or shaking in your equipment, it may be due to a malfunctioning v-belt. This could result from improper installation, wear, or mismatched belt sizes.
5. Age Even if the belt appears fine, v-belts should be replaced periodically based on manufacturer recommendations or after a certain number of operating hours. Typically, replacement is recommended every 3 to 5 years.
Steps to Replace a V-Belt
v belt replacement

1. Preparation Before starting the replacement process, ensure that you have the correct replacement v-belt. Refer to the equipment manual to find the model number and specifications. Gather the necessary tools, such as wrenches, a screwdriver, and a belt tension gauge.
2. Turn Off the Power Ensure the equipment is turned off and disconnected from its power source. Safety should always be the top priority when working on machinery.
3. Remove the Old Belt Loosen the tension on the belt by adjusting the tensioning mechanism or moving the driven or drive pulley. Once the tension is released, carefully remove the old v-belt from the pulleys.
4. Inspect Pulleys and Other Components Before installing the new belt, check the pulleys for any signs of wear or damage. Clean debris and inspect bearings and tensioners as well.
5. Install the New Belt Place the new v-belt around the pulleys, ensuring it sits properly in the groove. Follow the path specified in the equipment manual to guarantee correct installation.
6. Adjust Tension Once the belt is in place, adjust the tension to meet the manufacturer’s specifications. An overly tight or loose belt can lead to premature wear or failure.
7. Final Checks Rotate the pulleys by hand to ensure the belt is seated correctly and moving freely. Reconnect the power source, and observe the equipment while it operates at low speed to confirm everything runs smoothly.
Conclusion
Regularly replacing v-belts is essential for maintaining the efficiency and reliability of machinery. By knowing the signs of wear and following a systematic replacement process, you can prevent unexpected breakdowns and enhance the performance of your equipment. Always refer to the manufacturer’s guidelines and prioritize safety when working on any mechanical systems. With proper care and attention, your v-belts will serve you well, keeping your operations running smoothly and effectively.
-
Upgrade Power Steering Pump Belt for Smooth, Quiet Operation
NewsAug.27,2025
-
Precision Timing Belt & Chain: Engine Performance & Durability
NewsAug.26,2025
-
Precision Lathe Drive Belts: Durable & Reliable Performance
NewsAug.25,2025
-
84.5 Serpentine Belt: Durable & Precision Fit for Your Engine
NewsAug.24,2025
-
Premium Ribbed Drive Belts for Quiet Power Transmission
NewsAug.23,2025
-
High-Performance Vehicle Timing Belt for Engine Precision
NewsAug.22,2025

