- Arabic
- French
- Russian
- Spanish
- Portuguese
- Turkish
- Armenian
- English
- Albanian
- Amharic
- Azerbaijani
- Basque
- Belarusian
- Bengali
- Bosnian
- Bulgarian
- Catalan
- Cebuano
- Corsican
- Croatian
- Czech
- Danish
- Dutch
- Afrikaans
- Esperanto
- Estonian
- Finnish
- Frisian
- Galician
- Georgian
- German
- Greek
- Gujarati
- Haitian Creole
- hausa
- hawaiian
- Hebrew
- Hindi
- Miao
- Hungarian
- Icelandic
- igbo
- Indonesian
- irish
- Italian
- Japanese
- Javanese
- Kannada
- kazakh
- Khmer
- Rwandese
- Korean
- Kurdish
- Kyrgyz
- Lao
- Latin
- Latvian
- Lithuanian
- Luxembourgish
- Macedonian
- Malgashi
- Malay
- Malayalam
- Maltese
- Maori
- Marathi
- Mongolian
- Myanmar
- Nepali
- Norwegian
- Norwegian
- Occitan
- Pashto
- Persian
- Polish
- Punjabi
- Romanian
- Samoan
- Scottish Gaelic
- Serbian
- Sesotho
- Shona
- Sindhi
- Sinhala
- Slovak
- Slovenian
- Somali
- Sundanese
- Swahili
- Swedish
- Tagalog
- Tajik
- Tamil
- Tatar
- Telugu
- Thai
- Turkmen
- Ukrainian
- Urdu
- Uighur
- Uzbek
- Vietnamese
- Welsh
- Bantu
- Yiddish
- Yoruba
- Zulu
Aug . 17, 2024 13:46 Back to list
Guide to Replacing Your V Belt for Optimal Performance
V-Belt Replacement A Comprehensive Guide
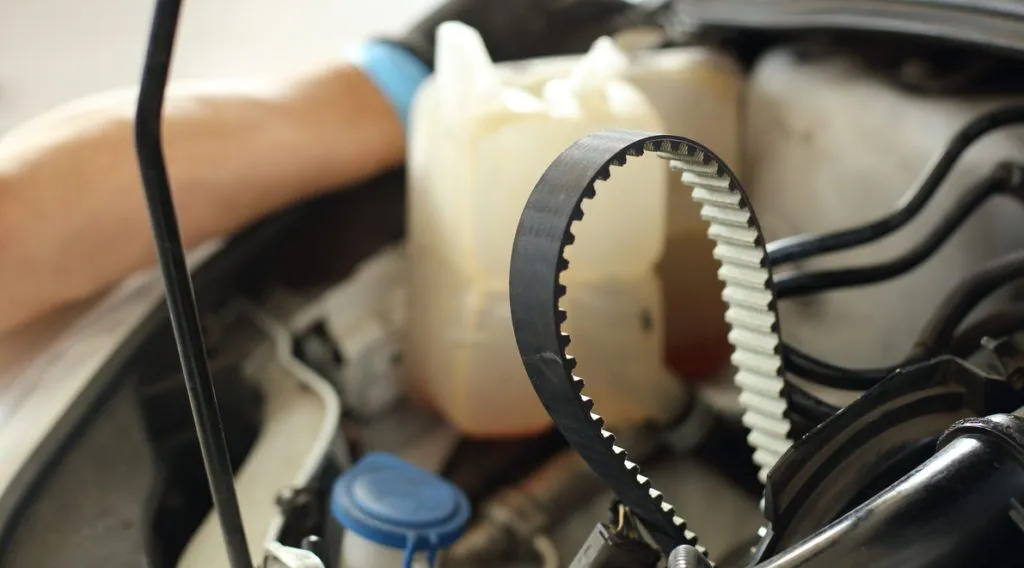
V-belts play a crucial role in the functioning of many mechanical systems, from automotive engines to industrial machinery. These belts are designed to transfer power between rotating shafts, enabling a wide range of applications. However, like any other component, V-belts can wear out over time and require replacement to ensure optimal performance. This article provides a comprehensive guide to understanding V-belt replacement, including the signs of wear, the replacement process, and some maintenance tips.
Understanding V-Belt Wear
Before diving into the replacement process, it's essential to recognize the signs that indicate a V-belt might need replacing. Common symptoms of a worn V-belt include
1. Squeaking or Slipping Noises A slipping belt often produces a squeaking sound, particularly when the equipment is under load. This is a clear indication that the belt may no longer provide adequate traction.
2. Visible Cracks or Fraying Inspect the belt for visible damage. Cracks, fraying, or any signs of excessive wear mean it should be replaced immediately to prevent it from breaking during operation.
3. Decreased Performance If the driven equipment is operating inefficiently, a worn V-belt could be a contributing factor. This may manifest as reduced speed or power output.
4. Belt Stretch V-belts can stretch over time, compromising their fit and function. If the belt is stretched beyond its recommended specifications, it's time for a replacement.
The Replacement Process
Replacing a V-belt is a straightforward process
. Here are the steps to follow1. Safety First Before starting, ensure the machinery is turned off and disconnected from its power source. Always wear safety goggles and gloves for protection.
2. Access the Belt Depending on the equipment, you may need to remove protective covers or shields to access the V-belt. Take note of the routing path of the old belt, as you'll need to follow the same route for the new one.
v belt replacement

3. Loosen Tension Most V-belts have a tensioning mechanism. Loosen this mechanism to relieve the tension on the belt. This could involve adjusting a tensioner pulley, loosening bolts, or using a wrench to move the tensioning arm.
4. Remove the Old Belt Carefully slide the old V-belt off the pulleys, noting its placement for guidance when installing the new belt.
5. Install the New Belt Position the new V-belt over the pulleys according to the original routing. Ensure it's seated properly in the grooves.
6. Reapply Tension Once the new belt is in place, reapply tension using the tensioning mechanism. Double-check to ensure the belt has the correct amount of tension, as both too much and too little tension can lead to premature wear.
7. Check Alignment Ensure that the pulleys are aligned correctly. Misalignment can cause uneven wear or potential failure of the belt.
8. Test the Equipment Reconnect the power source and run the equipment for a short period. Listen for any unusual noises and observe the performance to ensure everything is operating smoothly.
Maintenance Tips
To prolong the life of your V-belts, consider the following maintenance tips
- Regular Inspections Conduct routine inspections of the belts for any signs of wear and tear.
- Keep Pulleys Clean Dirt and debris can affect belt performance. Regularly clean the pulleys to ensure good contact.
- Proper Tension Always maintain the correct tension on the V-belt, as both slack and overtension can lead to failure.
In conclusion, understanding the importance of V-belt replacement and recognizing the signs of wear can save time and prevent costly equipment failures. By following the replacement process outlined and adhering to maintenance practices, you can ensure your mechanical systems function efficiently and reliably for many years.
-
Upgrade Power Steering Pump Belt for Smooth, Quiet Operation
NewsAug.27,2025
-
Precision Timing Belt & Chain: Engine Performance & Durability
NewsAug.26,2025
-
Precision Lathe Drive Belts: Durable & Reliable Performance
NewsAug.25,2025
-
84.5 Serpentine Belt: Durable & Precision Fit for Your Engine
NewsAug.24,2025
-
Premium Ribbed Drive Belts for Quiet Power Transmission
NewsAug.23,2025
-
High-Performance Vehicle Timing Belt for Engine Precision
NewsAug.22,2025

