- Arabic
- French
- Russian
- Spanish
- Portuguese
- Turkish
- Armenian
- English
- Albanian
- Amharic
- Azerbaijani
- Basque
- Belarusian
- Bengali
- Bosnian
- Bulgarian
- Catalan
- Cebuano
- Corsican
- Croatian
- Czech
- Danish
- Dutch
- Afrikaans
- Esperanto
- Estonian
- Finnish
- Frisian
- Galician
- Georgian
- German
- Greek
- Gujarati
- Haitian Creole
- hausa
- hawaiian
- Hebrew
- Hindi
- Miao
- Hungarian
- Icelandic
- igbo
- Indonesian
- irish
- Italian
- Japanese
- Javanese
- Kannada
- kazakh
- Khmer
- Rwandese
- Korean
- Kurdish
- Kyrgyz
- Lao
- Latin
- Latvian
- Lithuanian
- Luxembourgish
- Macedonian
- Malgashi
- Malay
- Malayalam
- Maltese
- Maori
- Marathi
- Mongolian
- Myanmar
- Nepali
- Norwegian
- Norwegian
- Occitan
- Pashto
- Persian
- Polish
- Punjabi
- Romanian
- Samoan
- Scottish Gaelic
- Serbian
- Sesotho
- Shona
- Sindhi
- Sinhala
- Slovak
- Slovenian
- Somali
- Sundanese
- Swahili
- Swedish
- Tagalog
- Tajik
- Tamil
- Tatar
- Telugu
- Thai
- Turkmen
- Ukrainian
- Urdu
- Uighur
- Uzbek
- Vietnamese
- Welsh
- Bantu
- Yiddish
- Yoruba
- Zulu
सप्टेंबर . 22, 2024 13:31 Back to list
serpentine drive belt replacement
Serpentine Drive Belt Replacement A Comprehensive Guide
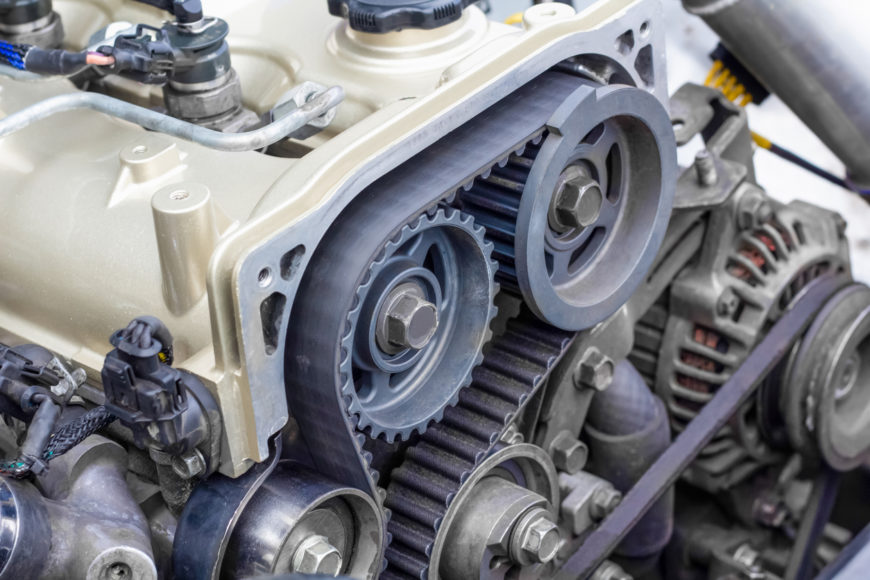
The serpentine drive belt is a crucial component of your vehicle's engine, responsible for powering multiple accessories like the alternator, power steering pump, water pump, and air conditioning compressor. Over time, this belt can wear out, leading to potential engine performance issues or even strand you on the roadside. Therefore, understanding when and how to replace the serpentine drive belt is essential for every car owner.
Signs That Your Serpentine Belt Needs Replacement
Before diving into the replacement process, it's critical to recognize the signs indicating your serpentine belt may need changing. Common symptoms include squeaking or chirping noises from the engine, fraying, cracks, and significant wear on the belt’s surface. Additionally, if you notice a sudden drop in engine performance or the charging system warning light on your dashboard, it could indicate a failing belt.
Tools and Materials Needed
To perform a serpentine belt replacement, you'll need a few basic tools a socket wrench set, a serpentine belt tool, and a replacement belt specific to your vehicle model. It's advisable to consult your vehicle’s manual or online resources to ensure you purchase the correct belt.
The Replacement Process
1. Prepare Your Vehicle Park your vehicle on a flat surface and engage the parking brake. Make sure the engine is off and cool before you begin working.
serpentine drive belt replacement

2. Locate the Serpentine Belt Open the hood and locate the serpentine belt. You may find a diagram near the front of the engine bay, showing how the belt is routed around the various pulleys.
3. Release Tension Using a serpentine belt tool or a wrench, rotate the tensioner pulley counterclockwise to relieve tension on the belt. Carefully slip the belt off one of the pulleys.
4. Remove the Old Belt Once the tension is released, remove the belt completely, taking note of its routing as you do so.
5. Install the New Belt Referencing the diagram, thread the new serpentine belt around the pulleys. Ensure it sits flat and correctly in the grooves of each pulley.
6. Reapply Tension Rotate the tensioner pulley again to allow for the belt to fit onto the tensioner before releasing it to apply tension to the new belt.
7. Final Check Double-check the routing and ensure everything is tight and secure. Start your engine and listen for any unusual noises that may indicate improper installation.
Conclusion
Replacing a serpentine drive belt is a manageable task that can save you from more significant engine problems down the line. Regular maintenance and timely belt inspection will ensure your vehicle runs smoothly and efficiently. Always refer to the owner’s manual or seek professional assistance if you’re uncertain about the process.
-
Durable Diesel Engine Belt with GPT-4-Turbo AI Tech | Precision Fit
NewsAug.04,2025
-
High-Quality Tensioner Belt Pulley - Durable & Efficient
NewsAug.03,2025
-
Premium Timing Belt Factory | AI-Optimized Solutions
NewsAug.02,2025
-
Premium Custom V Belts Enhanced with GPT-4 Turbo AI
NewsAug.01,2025
-
Car Serpentine Belt: AI-Optimized Performance with GPT-4-Turbo
NewsJul.31,2025
-
Heat Joining Drive Belt | High-Durability Fusion Solution
NewsJul.31,2025

