- Arabic
- French
- Russian
- Spanish
- Portuguese
- Turkish
- Armenian
- English
- Albanian
- Amharic
- Azerbaijani
- Basque
- Belarusian
- Bengali
- Bosnian
- Bulgarian
- Catalan
- Cebuano
- Corsican
- Croatian
- Czech
- Danish
- Dutch
- Afrikaans
- Esperanto
- Estonian
- Finnish
- Frisian
- Galician
- Georgian
- German
- Greek
- Gujarati
- Haitian Creole
- hausa
- hawaiian
- Hebrew
- Hindi
- Miao
- Hungarian
- Icelandic
- igbo
- Indonesian
- irish
- Italian
- Japanese
- Javanese
- Kannada
- kazakh
- Khmer
- Rwandese
- Korean
- Kurdish
- Kyrgyz
- Lao
- Latin
- Latvian
- Lithuanian
- Luxembourgish
- Macedonian
- Malgashi
- Malay
- Malayalam
- Maltese
- Maori
- Marathi
- Mongolian
- Myanmar
- Nepali
- Norwegian
- Norwegian
- Occitan
- Pashto
- Persian
- Polish
- Punjabi
- Romanian
- Samoan
- Scottish Gaelic
- Serbian
- Sesotho
- Shona
- Sindhi
- Sinhala
- Slovak
- Slovenian
- Somali
- Sundanese
- Swahili
- Swedish
- Tagalog
- Tajik
- Tamil
- Tatar
- Telugu
- Thai
- Turkmen
- Ukrainian
- Urdu
- Uighur
- Uzbek
- Vietnamese
- Welsh
- Bantu
- Yiddish
- Yoruba
- Zulu
დეკ . 12, 2024 10:55 Back to list
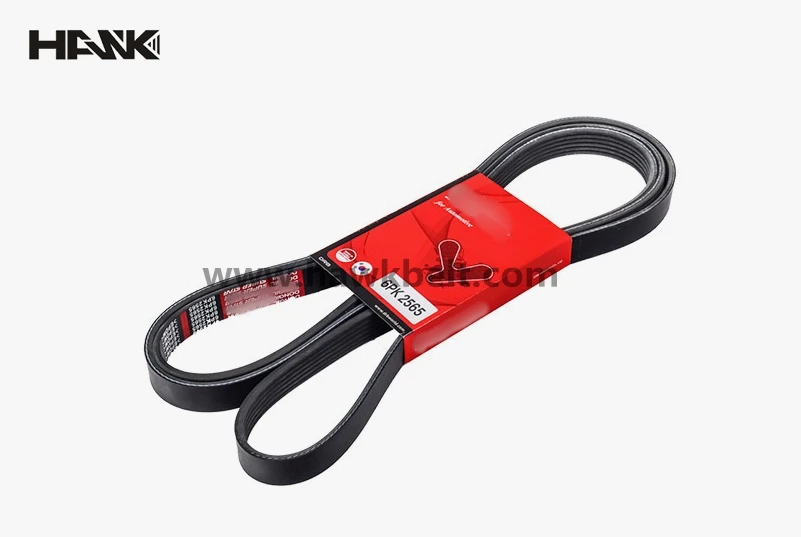
installing new serpentine belt
Installing a New Serpentine Belt A Step-by-Step Guide
The serpentine belt is a crucial component in many modern vehicles, responsible for driving multiple peripheral devices such as the alternator, power steering pump, water pump, and air conditioning compressor. Over time, serpentine belts can wear out, crack, or stretch, leading to decreased performance or complete failure of the accessories they power. Replacing a worn or damaged serpentine belt is essential to keep your vehicle running smoothly. This article will guide you through the steps of installing a new serpentine belt, ensuring you can tackle this task with confidence.
Tools and Materials Needed
Before starting the installation process, gather the necessary tools and materials
1. A new serpentine belt (make sure it matches your vehicle’s specifications) 2. A ratchet or wrench set 3. A serpentine belt tool or a long-handled wrench (for loosening the tensioner) 4. A flashlight (optional, for better visibility) 5. Safety gloves and eye protection
Step 1 Prepare Your Vehicle
Safety first! Park your vehicle on a flat surface, turn off the engine, and engage the parking brake. If you’ve recently driven the vehicle, allow the engine to cool down, as some parts may be hot. For better access to the engine, you might want to remove any obstructions, such as engine covers or hoses, depending on your vehicle's design.
Step 2 Locate the Serpentine Belt
Consult your vehicle’s owner manual to locate the serpentine belt. Familiarize yourself with the belt routing diagram, which is often found on a sticker within the engine bay or in the manual. This diagram will be essential for installing the new belt correctly.
Step 3 Release the Tensioner
Using the serpentine belt tool or a wrench, apply pressure to the tensioner arm. This will relieve tension on the old serpentine belt, allowing you to remove it easily. Be cautious, as the tensioner will spring back once you release it.
Step 4 Remove the Old Serpentine Belt
installing new serpentine belt

With the tension released, carefully slide the old serpentine belt off the pulleys. Take a moment to inspect the belt for any signs of wear, such as cracks, frays, or shiny spots, which can indicate it was due for replacement.
Step 5 Install the New Serpentine Belt
Referencing the routing diagram, position the new serpentine belt around the pulleys in the same configuration as the old one. Ensure the belt sits in the grooves of each pulley correctly to prevent slippage or misalignment. Pay attention to the alignment and make sure the belt is not twisted.
Step 6 Reapply Tension
Once the belt is properly positioned, use your tool to move the tensioner arm again, allowing the belt to settle into place. Slowly release the tension to ensure that the belt is tight and secure on the pulleys. Double-check the belt’s alignment as it sits on the pulleys, making sure it’s not off-center.
Step 7 Start the Engine
With the new serpentine belt in place, start your vehicle’s engine and let it run for a minute. Listen for any unusual noises that might indicate improper installation. Visually inspect the belt to ensure it remains aligned within the pulleys and isn't slipping off.
Step 8 Final Checks
After confirming that everything is running smoothly, turn off the engine and give the belt one last inspection. Ensure everything looks correct and that the belt is seated properly.
Conclusion
Replacing a serpentine belt may seem daunting, but with the right tools and a bit of patience, you can complete it at home. Regularly checking and replacing your serpentine belt can prevent more extensive and costly repairs down the line. Remember, if you encounter any difficulties or uncertainties during the installation process, don’t hesitate to consult a professional mechanic. Happy driving!
-
Korean Auto Parts Timing Belt 24312-37500 For Hyundai/Kia
NewsMar.07,2025
-
7PK2300 90916-T2024 RIBBED BELT POLY V BELT PK BELT
NewsMar.07,2025
-
Chinese Auto Belt Factory 310-2M-22 For BMW/Mercedes-Benz
NewsMar.07,2025
-
Chinese Auto Belt Factory 310-2M-22 For BMW/Mercedes-Benz
NewsMar.07,2025
-
90916-02660 PK Belt 6PK1680 For Toyota
NewsMar.07,2025
-
drive belt serpentine belt
NewsMar.07,2025

