

- Arabic
- French
- Russian
- Spanish
- Portuguese
- Turkish
- Armenian
- English
- Albanian
- Amharic
- Azerbaijani
- Basque
- Belarusian
- Bengali
- Bosnian
- Bulgarian
- Catalan
- Cebuano
- Corsican
- Croatian
- Czech
- Danish
- Dutch
- Afrikaans
- Esperanto
- Estonian
- Finnish
- Frisian
- Galician
- Georgian
- German
- Greek
- Gujarati
- Haitian Creole
- hausa
- hawaiian
- Hebrew
- Hindi
- Miao
- Hungarian
- Icelandic
- igbo
- Indonesian
- irish
- Italian
- Japanese
- Javanese
- Kannada
- kazakh
- Khmer
- Rwandese
- Korean
- Kurdish
- Kyrgyz
- Lao
- Latin
- Latvian
- Lithuanian
- Luxembourgish
- Macedonian
- Malgashi
- Malay
- Malayalam
- Maltese
- Maori
- Marathi
- Mongolian
- Myanmar
- Nepali
- Norwegian
- Norwegian
- Occitan
- Pashto
- Persian
- Polish
- Punjabi
- Romanian
- Samoan
- Scottish Gaelic
- Serbian
- Sesotho
- Shona
- Sindhi
- Sinhala
- Slovak
- Slovenian
- Somali
- Sundanese
- Swahili
- Swedish
- Tagalog
- Tajik
- Tamil
- Tatar
- Telugu
- Thai
- Turkmen
- Ukrainian
- Urdu
- Uighur
- Uzbek
- Vietnamese
- Welsh
- Bantu
- Yiddish
- Yoruba
- Zulu
Okt . 21, 2024 11:18 Back to list
A Comprehensive Guide to Installing a Serpentine Belt for Your Vehicle
Installing a Serpentine Belt A Step-by-Step Guide
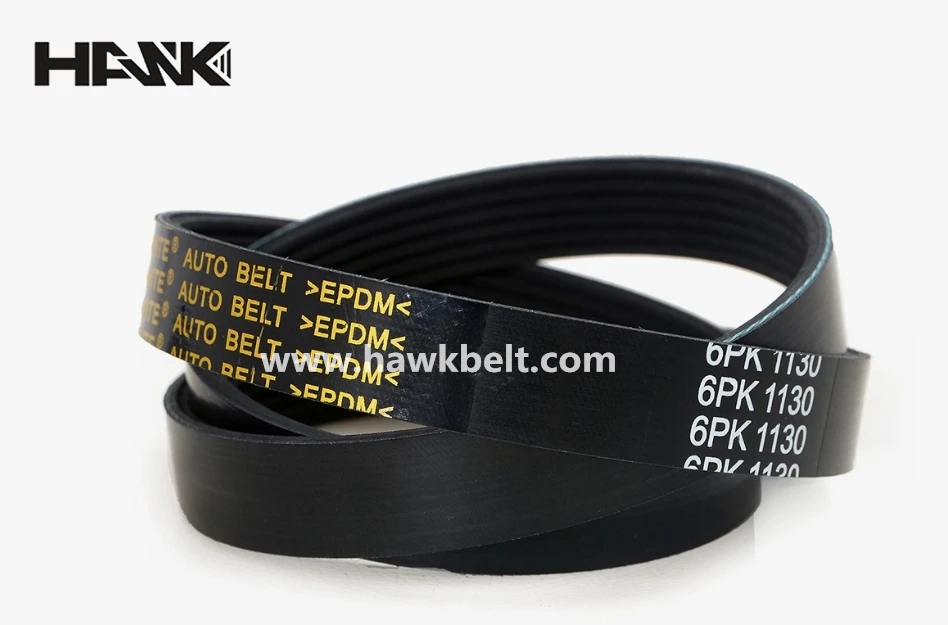
The serpentine belt is a crucial component of your vehicle’s engine, responsible for driving multiple peripheral devices such as the alternator, power steering pump, water pump, and air conditioning compressor. Over time, this belt can wear down, leading to squeaking noises or serious engine problems. Thus, knowing how to install a serpentine belt is an invaluable skill for any car owner. This guide will walk you through the process step-by-step.
Tools and Materials Needed
Before starting, gather the following tools
1. New serpentine belt Ensure you purchase the correct size for your vehicle. 2. Belt tensioner tool or ratchet This will help relieve tension on the existing belt. 3. Wrench set For any necessary adjustments or removing parts that obstruct access. 4. Owner’s manual Refer to this for specifics about routing and tension settings. 5. Gloves and safety glasses Protect your hands and eyes during the installation process.
Step 1 Prepare the Vehicle
1. Safety First Make sure the engine is off, and the car is parked on a flat surface. Engage the parking brake. For added safety, disconnect the battery to prevent accidental starts. 2. Access the Belt Open the hood and locate the serpentine belt. You might need to remove engine covers or other components to gain clear access.
Step 2 Remove the Old Belt
1. Locate the Tensioner Identify the serpentine belt tensioner, which is usually a pulley. Use the belt tensioner tool or a ratchet wrench to rotate the tensioner. This will relieve tension on the old belt.
2. Remove the Old Belt With the tension released, slide the old belt off the pulleys. It’s helpful to note the routing of the belt; you can refer to the diagram usually found on the engine compartment’s underside or your owner’s manual.
installing a serpentine belt
Step 3 Install the New Belt
1. Route the New Belt Before installing, compare the new belt with the old one to ensure you have the correct length and width. Begin threading the new serpentine belt around the pulleys according to the correct routing diagram. Be meticulous; an incorrect installation can lead to engine damage.
2. Tension the Belt Once the belt is in place, return to the tensioner. Again, use your tool to rotate the tensioner, allowing you to slide the belt onto its pulley. Release the tensioner slowly, ensuring the belt is seated correctly.
Step 4 Check and Test
1. Inspect the Installation Double-check that the belt is properly seated on all pulleys and that the tensioner is functioning as it should. It must keep consistent tension on the belt during operation.
2. Reconnect the Battery If you disconnected the battery, reconnect it now.
3. Start the Engine Turn on your vehicle and listen for any unusual sounds coming from the engine. Observe the serpentine belt while the engine is running to ensure it spins correctly and there are no signs of slipping or misalignment.
4. Final Check After a few minutes of running, turn off the engine and visually inspect the belt. Look for any signs of wear or misalignment.
Conclusion
Installing a serpentine belt may seem daunting, but by following these steps and taking your time, you can successfully replace it yourself. Regular maintenance checks on your vehicle, including inspecting the serpentine belt, will help keep your engine running smoothly and efficiently. Always refer to your vehicle’s owner manual for specific details and recommendations to ensure the longevity of your engine components. Happy motoring!
-
Korean Auto Parts Timing Belt 24312-37500 For Hyundai/Kia
NewsMar.07,2025
-
7PK2300 90916-T2024 RIBBED BELT POLY V BELT PK BELT
NewsMar.07,2025
-
Chinese Auto Belt Factory 310-2M-22 For BMW/Mercedes-Benz
NewsMar.07,2025
-
Chinese Auto Belt Factory 310-2M-22 For BMW/Mercedes-Benz
NewsMar.07,2025
-
90916-02660 PK Belt 6PK1680 For Toyota
NewsMar.07,2025
-
drive belt serpentine belt
NewsMar.07,2025