- Arabic
- French
- Russian
- Spanish
- Portuguese
- Turkish
- Armenian
- English
- Albanian
- Amharic
- Azerbaijani
- Basque
- Belarusian
- Bengali
- Bosnian
- Bulgarian
- Catalan
- Cebuano
- Corsican
- Croatian
- Czech
- Danish
- Dutch
- Afrikaans
- Esperanto
- Estonian
- Finnish
- Frisian
- Galician
- Georgian
- German
- Greek
- Gujarati
- Haitian Creole
- hausa
- hawaiian
- Hebrew
- Hindi
- Miao
- Hungarian
- Icelandic
- igbo
- Indonesian
- irish
- Italian
- Japanese
- Javanese
- Kannada
- kazakh
- Khmer
- Rwandese
- Korean
- Kurdish
- Kyrgyz
- Lao
- Latin
- Latvian
- Lithuanian
- Luxembourgish
- Macedonian
- Malgashi
- Malay
- Malayalam
- Maltese
- Maori
- Marathi
- Mongolian
- Myanmar
- Nepali
- Norwegian
- Norwegian
- Occitan
- Pashto
- Persian
- Polish
- Punjabi
- Romanian
- Samoan
- Scottish Gaelic
- Serbian
- Sesotho
- Shona
- Sindhi
- Sinhala
- Slovak
- Slovenian
- Somali
- Sundanese
- Swahili
- Swedish
- Tagalog
- Tajik
- Tamil
- Tatar
- Telugu
- Thai
- Turkmen
- Ukrainian
- Urdu
- Uighur
- Uzbek
- Vietnamese
- Welsh
- Bantu
- Yiddish
- Yoruba
- Zulu
pro . 15, 2024 15:54 Back to list
Guide to Installing a New Serpentine Belt for Your Vehicle
Installing a New Serpentine Belt A Comprehensive Guide
The serpentine belt is an essential component in modern automotive engines, responsible for driving multiple peripheral devices such as the alternator, power steering pump, water pump, and air conditioning compressor. Over time, these belts can wear out, crack, or stretch, leading to decreased performance and potential engine issues. Therefore, knowing how to install a new serpentine belt is a valuable skill for any car owner. This guide will walk you through the process step-by-step.
Understanding the Serpentine Belt
Before diving into installation, it’s important to understand what a serpentine belt is and where it is located. The serpentine belt is a long, continuous belt that winds around various pulleys attached to the engine. Unlike older vehicles that might have multiple belts, most newer cars use a single serpentine belt, which simplifies the system and increases efficiency.
Tools and Materials Needed
To replace a serpentine belt, you’ll need the following tools and materials
- A new serpentine belt (make sure it’s compatible with your vehicle make and model) - A ratchet and socket set - A belt tensioner tool or a breaker bar - A flashlight (for better visibility in tight spaces) - Safety gloves and goggles
Step-by-Step Installation Process
1. Safety First
Before starting any work on your vehicle, ensure it is parked on a flat surface with the engine turned off and cool. Engage the parking brake and, if necessary, disconnect the battery to avoid any electrical surprises.
2. Locate the Serpentine Belt
Open the hood and locate the serpentine belt. It’s usually found at the front of the engine, and its path around the various pulleys can often be seen easily. If you’re unsure, refer to your vehicle’s service manual for a diagram of the serpentine belt routing.
3. Release the Tension
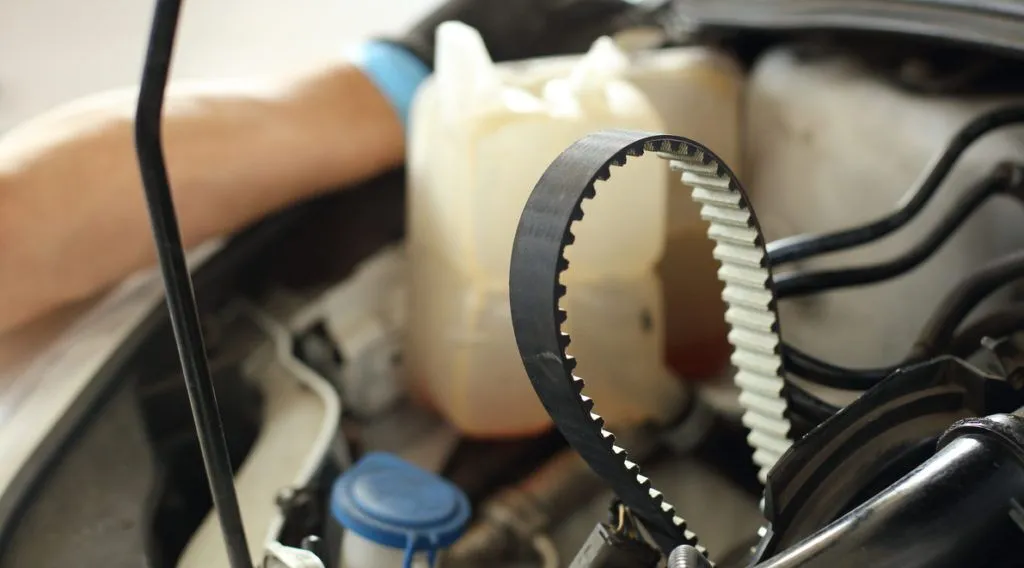
installing new serpentine belt

Most serpentine belts are kept under tension by a spring-loaded tensioner. To release tension and remove the old belt, use a belt tensioner tool or a breaker bar to push the tensioner away from the belt. While doing this, be cautious to avoid sudden jerks as the tension can be strong.
With the tension released, carefully slide the old serpentine belt off the pulleys. Make a note of the belt’s routing as you take it off; it’s essential for installing the new belt correctly. Some vehicles have a sticker under the hood showing the routing diagram, which can be helpful.
5. Install the New Belt
Now it’s time to install the new serpentine belt. Follow the routing pattern you noted from the old belt or consult the diagram. Start by placing the belt around any pulleys that are in an accessible position. Work your way around the pulleys until you reach the tensioner.
6. Apply Tension
Once the belt is in place, press the tensioner again to create tension in the belt. Carefully slide the belt into the tensioner pulley while keeping pressure on the tensioner. Once released, the belt should be securely in place across all pulleys.
7. Double-Check Your Work
After installing the new belt, take a moment to double-check the routing and tension. Ensure the belt is seated properly in all grooves and that there are no twists or misalignments.
8. Test the Installation
Reconnect the battery if it was disconnected, start the engine, and observe the new serpentine belt in action. Listen for any unusual noises, and watch for proper movement without slippage or jumping off the pulleys.
Conclusion
Replacing a serpentine belt is a straightforward process that can save you time and money if done yourself. Regular inspection and timely replacement of the serpentine belt can extend the life of your vehicle’s engine components and improve overall performance. Should you encounter any issues during installation, or if you’re unsure about any steps, consult a professional mechanic for assistance. Remember, proper maintenance is key to a reliable and efficient vehicle!
-
Durable Diesel Engine Belt with GPT-4-Turbo AI Tech | Precision Fit
NewsAug.04,2025
-
High-Quality Tensioner Belt Pulley - Durable & Efficient
NewsAug.03,2025
-
Premium Timing Belt Factory | AI-Optimized Solutions
NewsAug.02,2025
-
Premium Custom V Belts Enhanced with GPT-4 Turbo AI
NewsAug.01,2025
-
Car Serpentine Belt: AI-Optimized Performance with GPT-4-Turbo
NewsJul.31,2025
-
Heat Joining Drive Belt | High-Durability Fusion Solution
NewsJul.31,2025

